Green Tomato Blues

Walked through the garden after the rain today mainly to check on the tomatoes and hope to see009 some signs of ripening. Have had a few Tiny Tim, Chocolate Cherry, and a few Brandy-wine, however the Lemon Boy, Roma, and Beefsteak, (sigh) are very green.

This time last year the tomato sauce, stewed tomatoes and salsa was in the pantry. The tomatoes are about two weeks behind due to the slow cold start this year. Hopefully they will ripen before too long.

It is late August and should the tomatoes fail to ripen in the sunshine they will have to do their best indoors with a bit of help.

We have used three methods to ripen tomatoes indoors and have had success either way.  It is important to avoid diseased, bruise or damaged tomatoes for ripening indoors.

  1. Place 3 to 5 tomatoes in a paper bag and set in a warm place.  My mother used to use this method and add a ripened banana to the bag to “speed up the ripening”.  Never observed much of a difference, other than fruit flies would magically appear with the banana method.
  2. With a large amount of unripened tomatoes, place a layer of newspaper in a cardboard box and set a layer of tomatoes on top of the newspaper.  Be sure to leave space between the tomatoes.  Place another layer of newspaper on top of the tomatoes and put in a warm place.  We have had success with placing a second layer of tomatoes in the box.  Place crumpled newspaper on the last newspaper layer to “cushion” the tomatoes.  Place a layer of newspaper on top of the “cushion” layer, add tomatoes and cover with more newspaper.  It takes up less space put will take more time to check the ripening progress.  If space allows, do only a single layer.
  3. Place tomatoes that show a little sign of starting to ripen on a window sill, on a counter top or a shelf near a window.  This method would supply tomatoes for lunch, dinner and snacks.

Always check the tomatoes for ripening.  Remove any tomatoes showing mildew or rot to prevent other tomatoes from rotting.

This may be the year for green tomato chow, green tomato salsa and fried green tomatoes!

For some more information on ripening tomatoes indoors check out Ripening Green Tomatoes at GrowVeg.com.

Sun is out!  Back to the garden!


A Morning Walkabout

A beautiful May 30th morning here in the Creative Garden Patch.  It really is starting to feel like summer is close and the piles of snow are long behind us.

The pictures of the morning walkabout shall speak a thousand words!

Garden Walkabout 043

Garden Walkabout 008

Garden Walkabout 009

Garden Walkabout 027

Garden Walkabout 057

Garden Walkabout 065

Garden Walkabout 053

Have a wonderful day in the garden.

Tom and Di

The Garden is Only as Good as the Soil

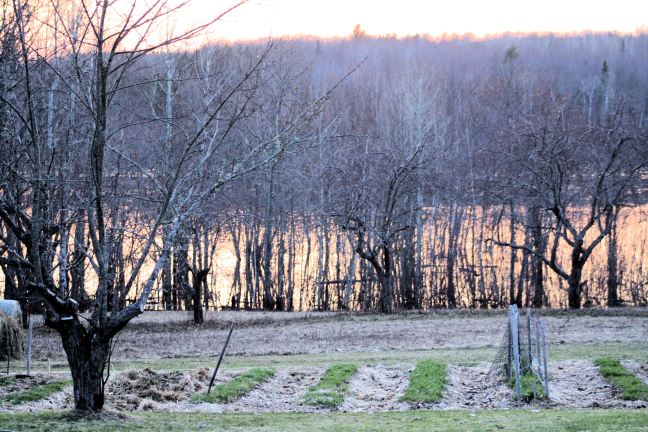
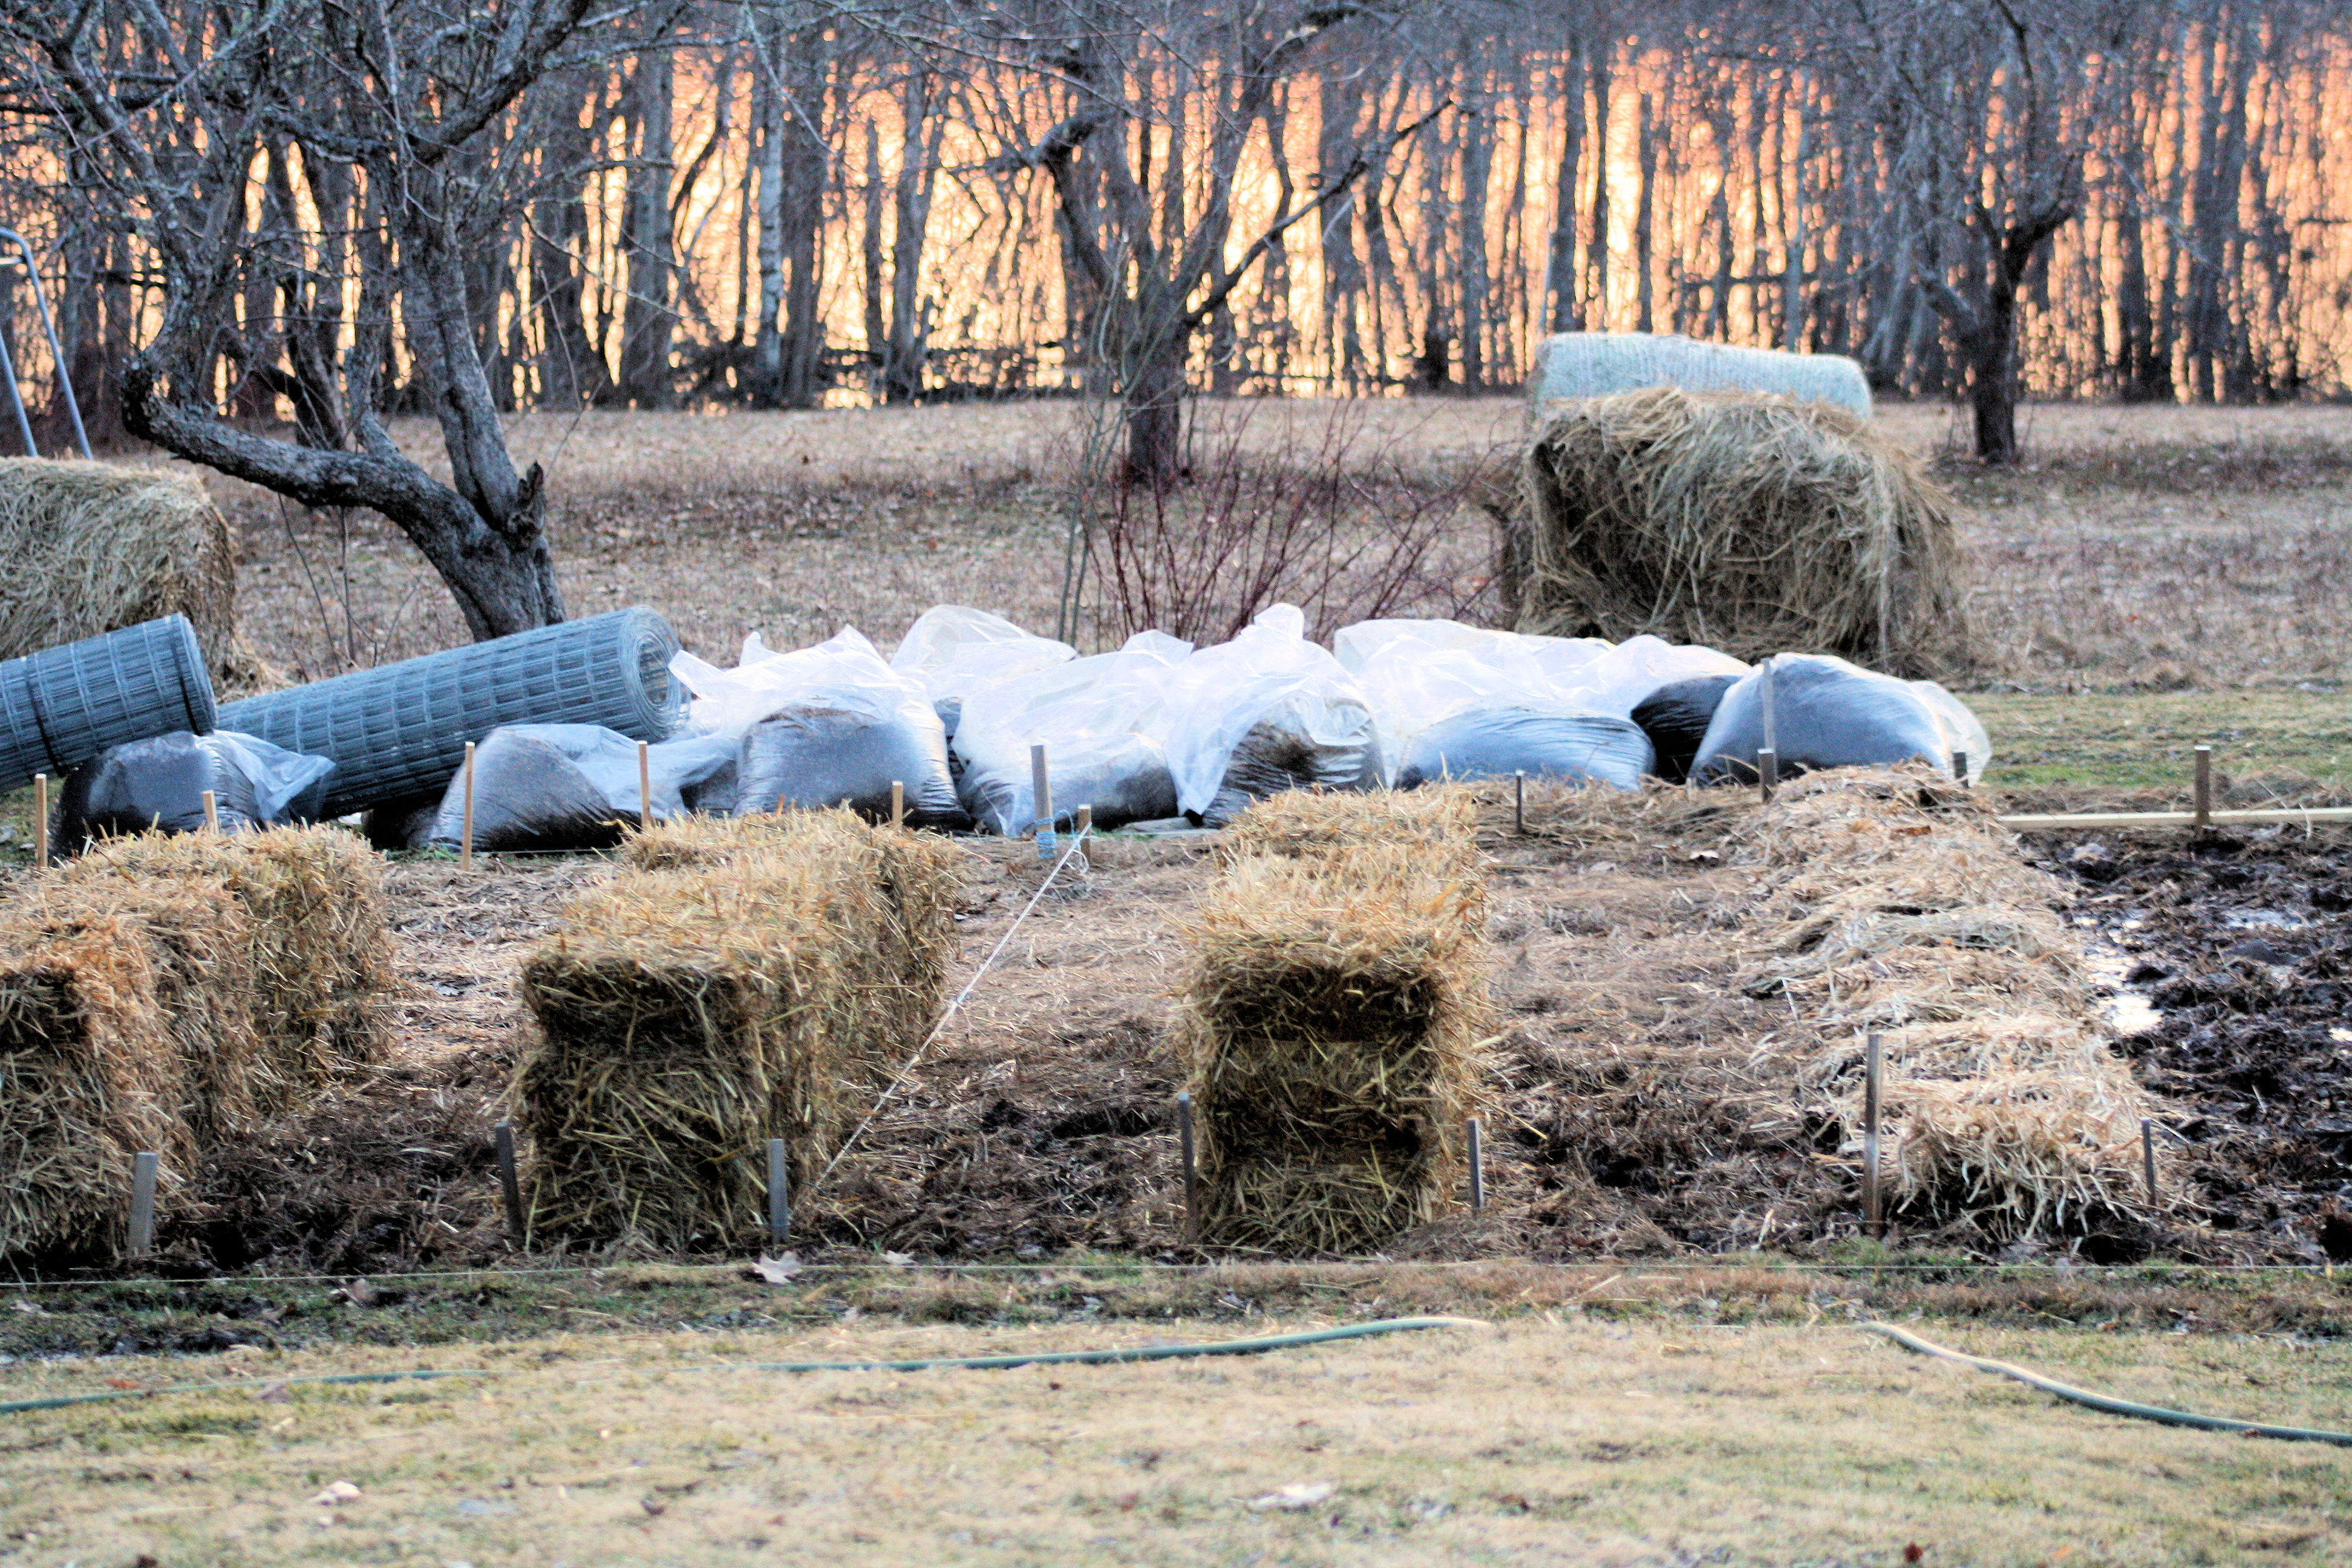
The quality of the soil determines the success of your garden.  We have been working on our soil for several years by continually adding organic material.  The lower garden has presented some challenges as it is situated at the bottom of an old orchard and the water drains to the garden.  The solution chosen, raised rows, and last year half of the garden was a success.  This year the other half is being prepared for the season.  This half is very wet and drains poorly.  Before we install drainage, we will be experimenting with straw bales and more raised rows to raise the plants out of the wet soil.  As the bales compost down we are hoping to create the raised rows that will solve our wetness problems.

The straw bales are in place and conditioning started today.Garden 031

Whenever we come across good information to share with you we will post it.  The following article is re-posted from The Gardening Channel and can help answer questions about common soil problems.


Top Soil Problems and Helpful Tips

 
Whatever plants you are going to grow in your garden, you need the best quality soil possible. It should be well drained and aerated, with an ongoing supply of good quality nutrients. This may mean bringing in extra top soil; it invariably means adding compost and fertilizers to the soil.

Soil compaction

If you are establishing a new garden after building a new home, chances are you will have not only have lost a lot of your precious top soil, but what top soil there is left has been heavily compacted by all the machinery and building equipment on site during the building operation. Even construction of small garden buildings and features, or construction of amenities like decks, paths, walkways and patios can result in damage and compaction to the soil.

If soil is compacted, you can bring in an aerating machine that will open up small holes. This is particularly useful if the ground already has an established lawn on it. If the ground is bare, you need to get as much organic matter into it as you can. This will not only help to overcome the problems associated with soil compaction, but organic matter will also improve and increase the water-holding capacity of sandy soils and it will improve drainage of heavy, clay soils.

Another problem that often occurs during building operations, regardless of how big or small these are, is that established trees are threatened. If soil compaction around a tree you don’t want to lose is inevitable, or if it has already occurred, you can relieve the pressure, and prevent the roots from suffocating, by drilling holes into the ground from the trunk outwards, to the furthest line of leaves (which is where the roots will extend to). These should be about three inches in diameter and about a foot apart. Fill the holes with compost or with a mulch to which a root-promoting fertilizer has been added. This will allow water and air – as well as the fertilizer – to percolate through the soil and spread beneath the compacted soil and feed the roots.

Soil quality

There are three basic types of soil:

  • Sand,
  • Clay, and
  • Loam.

While sandy soils drain well, they don’t retain the water. This means that you need to water (or irrigate) more frequently, and fertilize more often because the soil won’t have all the nutrients plants need to grow. Also, because the water flows quickly through this type of soil, the water takes what nutrients there are away with it. The best way to improve the quality of sandy soil is to add organic matter in the form of some sort of organic amendment, compost for example.

Clay soils are the opposite of sandy soils because they are heavy and thick, and they don’t drain well at all. You can lighten them by adding compost and some coarse sand. But be sure to add fertilizer for extra nourishment as well.

Loam is the best type of soil, because it drains well and contains nutrients. However this doesn’t mean it will necessarily have all the nutrients you need. For this reason it is always a good idea to test soil to see whether it is alkaline or acid. You can also have a professional soil analysis done to assess what nutrients need to be added to improve the quality of your soil. Or, just add compost to your soil. It’ll work wonders in buffering the pH of soil, and add the nutrients the soil is lacking.

Soil drainage

Roots of just about all plants need a constant supply of oxygen to survive and thrive. When drainage is inadequate, the plants won’t get enough oxygen, apart from which the soil will also tend to become waterlogged. While there are a few plants that will thrive in waterlogged soil – in particular anything that grows well in a bog garden, and a few trees including the gorgeous American sweet gum (Liquidambar styraciflua) – you will have to take some stringent steps to improve the soil. One way to do this is to build mounds or raised beds and to fill these with soil that does drain well. Alternatively, if it isn’t just the soil to blame, you might need to build in a piped drainage system or establish a French drain for water that flows from the garden.

Soil bacteria

All soil contains bacteria (which are single-celled organisms), even healthy soil. While we all fear pathogenic bacteria – the sort that cause horrible diseases – there are many beneficial bacteria. In fact bacteria, along with certain fungi, play a key role in keeping soil healthy. This is largely because they are able to help decompose certain materials.

Soil pollution

Soil pollution is the result of man’s activities that end up with chemicals and other harmful materials leaching into the soil. Polluted soil is not suitable for growing plants and trees. If your garden soil is polluted, you need to identify the source of contamination, rectify this and then remove the polluted soil and replace it with good quality top soil.

Helpful solutions to soil problems

Here are some more helpful hints and tips that will help you solve soil problems.

Soil testing kits are available for you to test how acid or alkaline the soil in your garden is. Alternatively you can take soil samples to a specialist laboratory and ask them to do the soil testing for you. A thorough soil analysis will tell you the levels of all the nutrients in the soil as well as identify the structure of the soil and pinpoint what the pH levels are. It is the pH (which indicates whether your soil is acid or alkaline and just how acid or alkaline it is) that most commonly needs correcting. The scale varies from 1 to 14, and if the soil is neutral, it will appear as 7 on the pH scale. Anything below 7 is acidic, and anything above 7 is acid.

Add lime to correct acidic soils. Add sulfur to correct alkaline soils – or a fertilizer with a good bit of sulfur in it.

Soil amendments range from aged steer manure to mushroom compost. When you prepare a new bed for planting, spread two to three inches of an amendment over the existing soil and then dig it into the soil to a depth of between six and nine inches, so that the amendment and existing soil are well mixed.

Soil preparation before planting always pays huge dividends. If you start with good quality soil, you won’t have problems trying to improve it later. But this doesn’t mean you won’t have to feed and fertilize. Soil maintenance will ensure that the soil quality remains good, and your plants will continue to thrive over time.

Always use compost to improve the quality of soil, whether it is sandy, full of clay, or even if it is a good quality loam. Organic compost has a certain magic that encourages earthworms and various micro-organisms to migrate into the soil. It also works well as a mulch.

If you make your own compost with compost bins, choose a three-bin system so that you have new material, mid-term material and compost that is ready for use.

Raised beds are a good solution for gardens where there is poor drainage. They are more effective than mounds and berms, because they have solid walls (either timber or masonry) that hold the good soil in place. To be effective, raised beds should be at least six inches, but preferably up to about a foot, deep. Drill holes in the base soil (as for compacted ground) before filling with good quality top soil.

Choose healthy plants so that they don’t contaminate the soil in the rest of the garden. Take cuttings from friend’s gardens by all means, just be sure the plants they come from are healthy and not diseased or infested with garden pests.
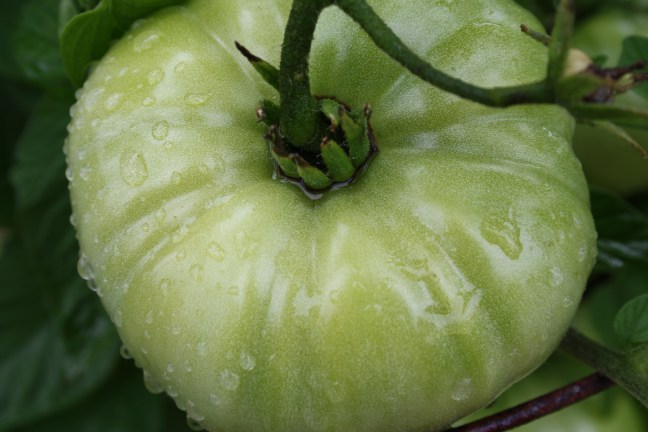
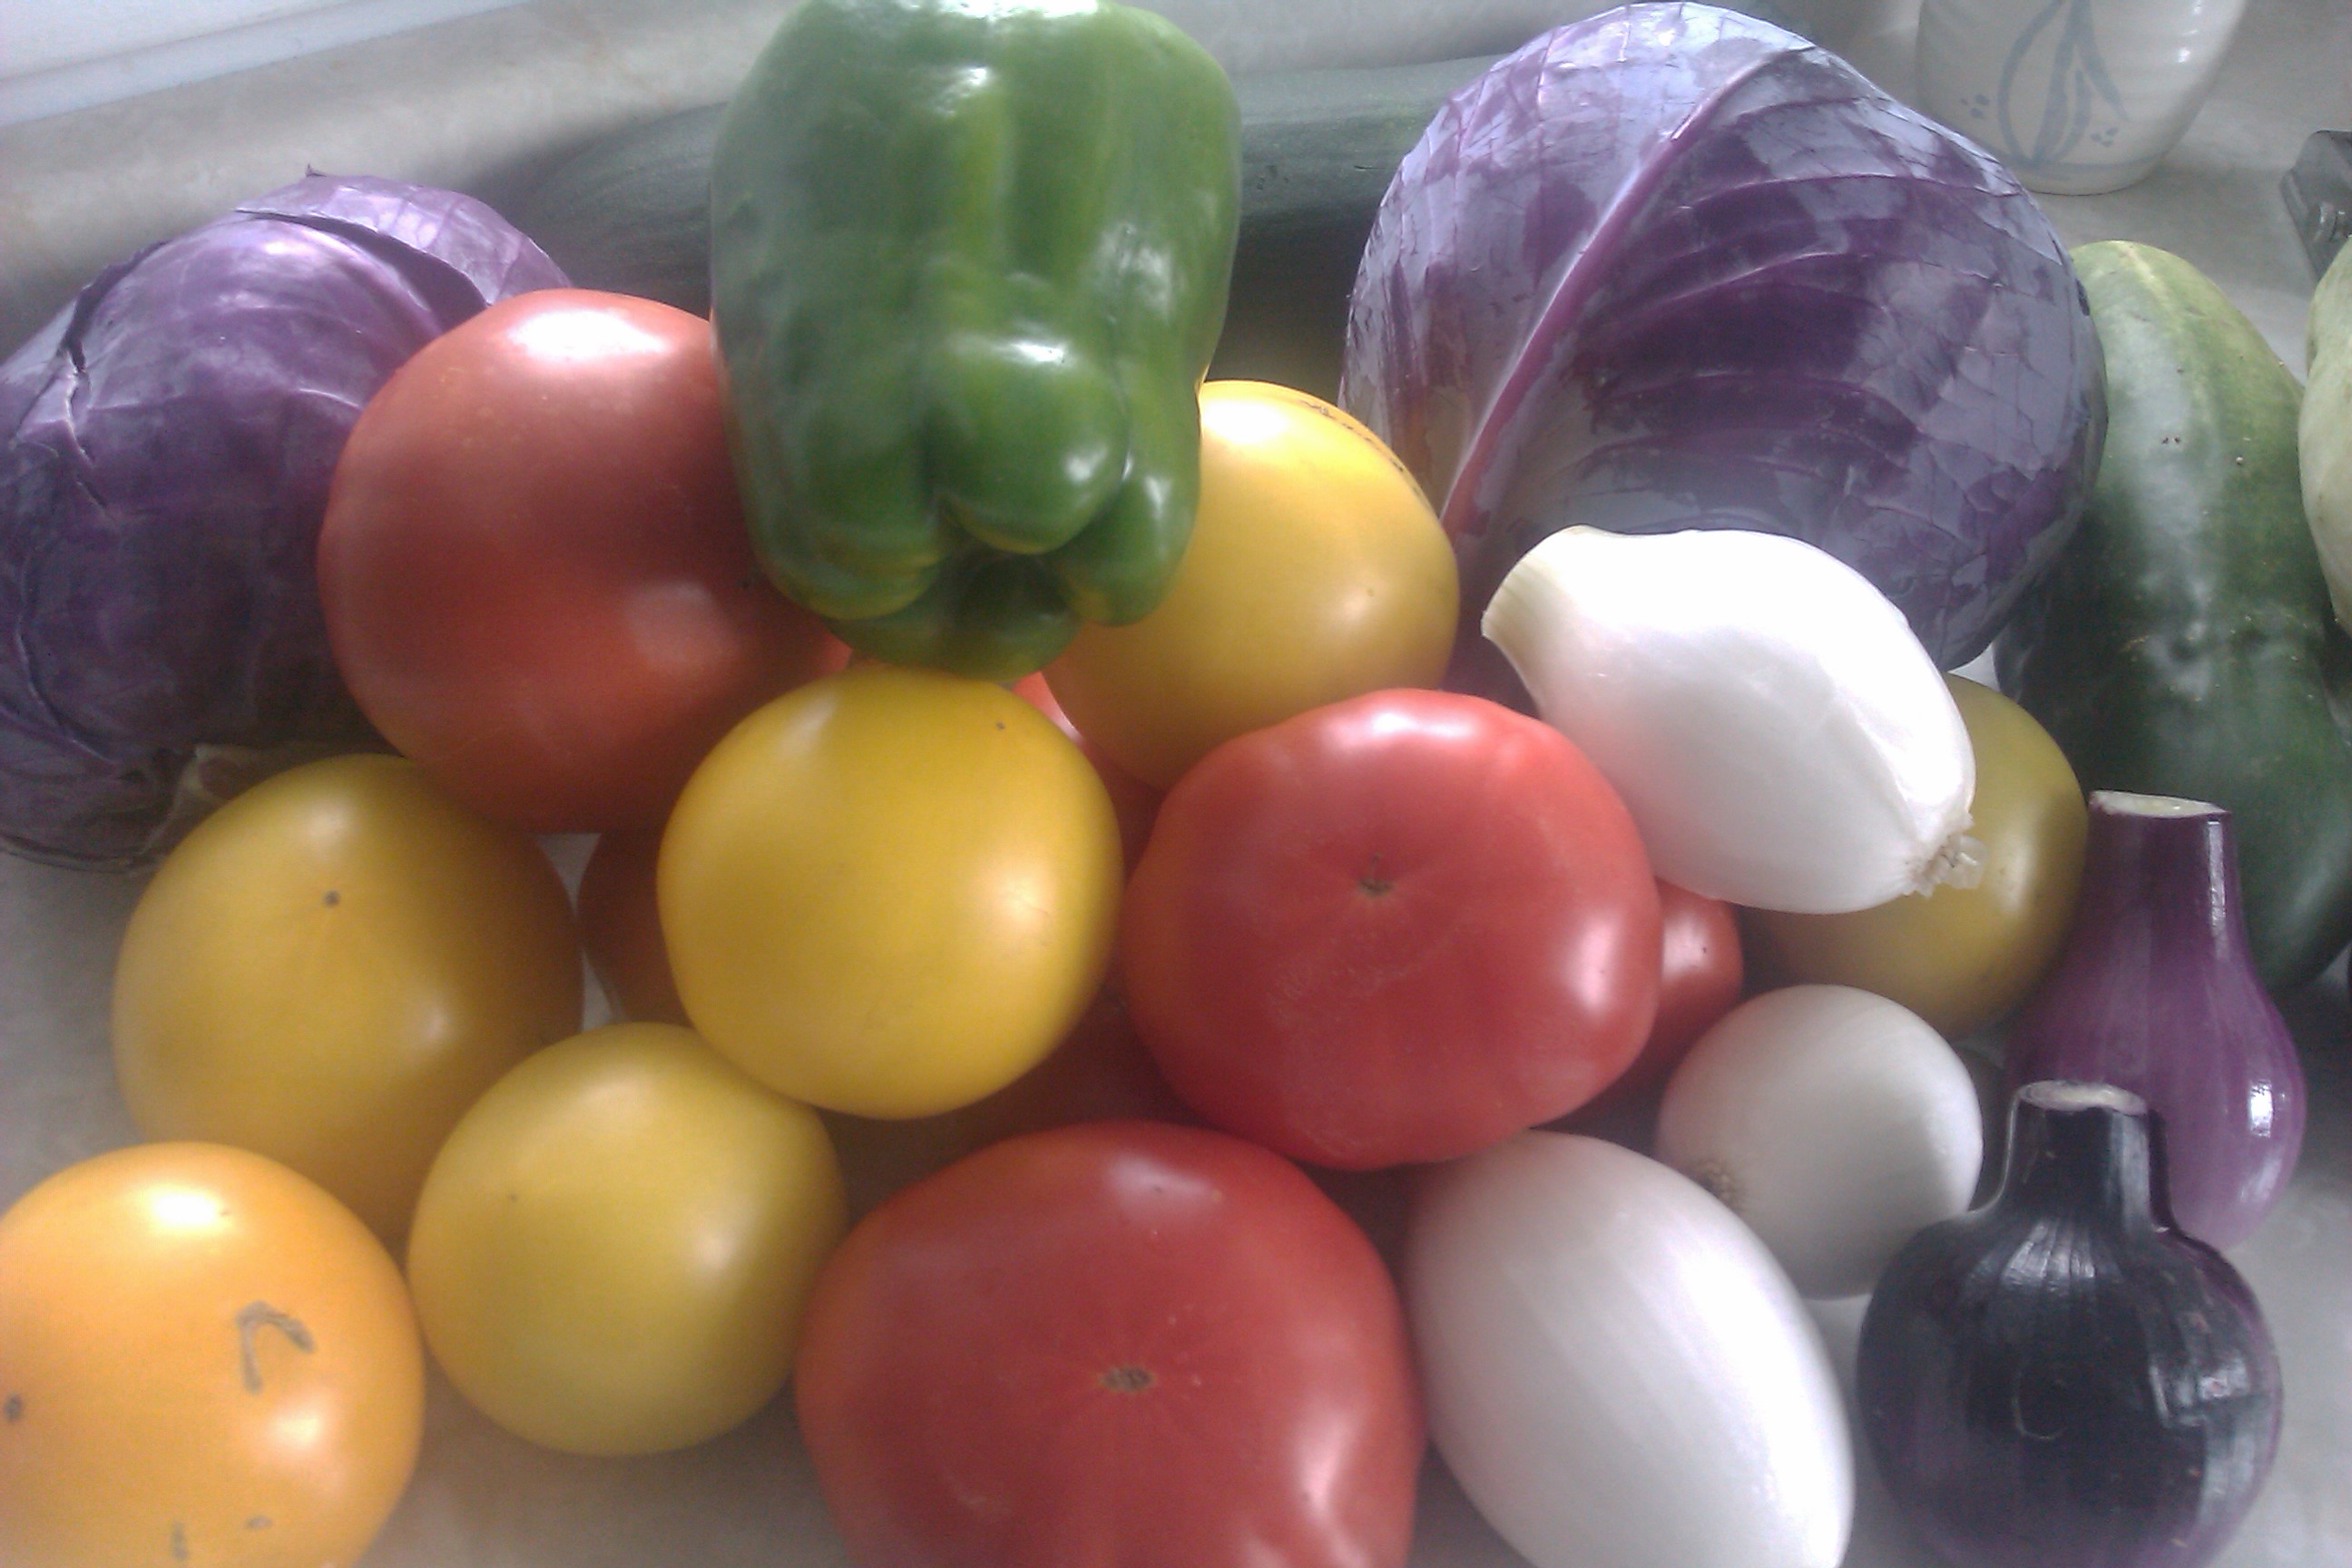
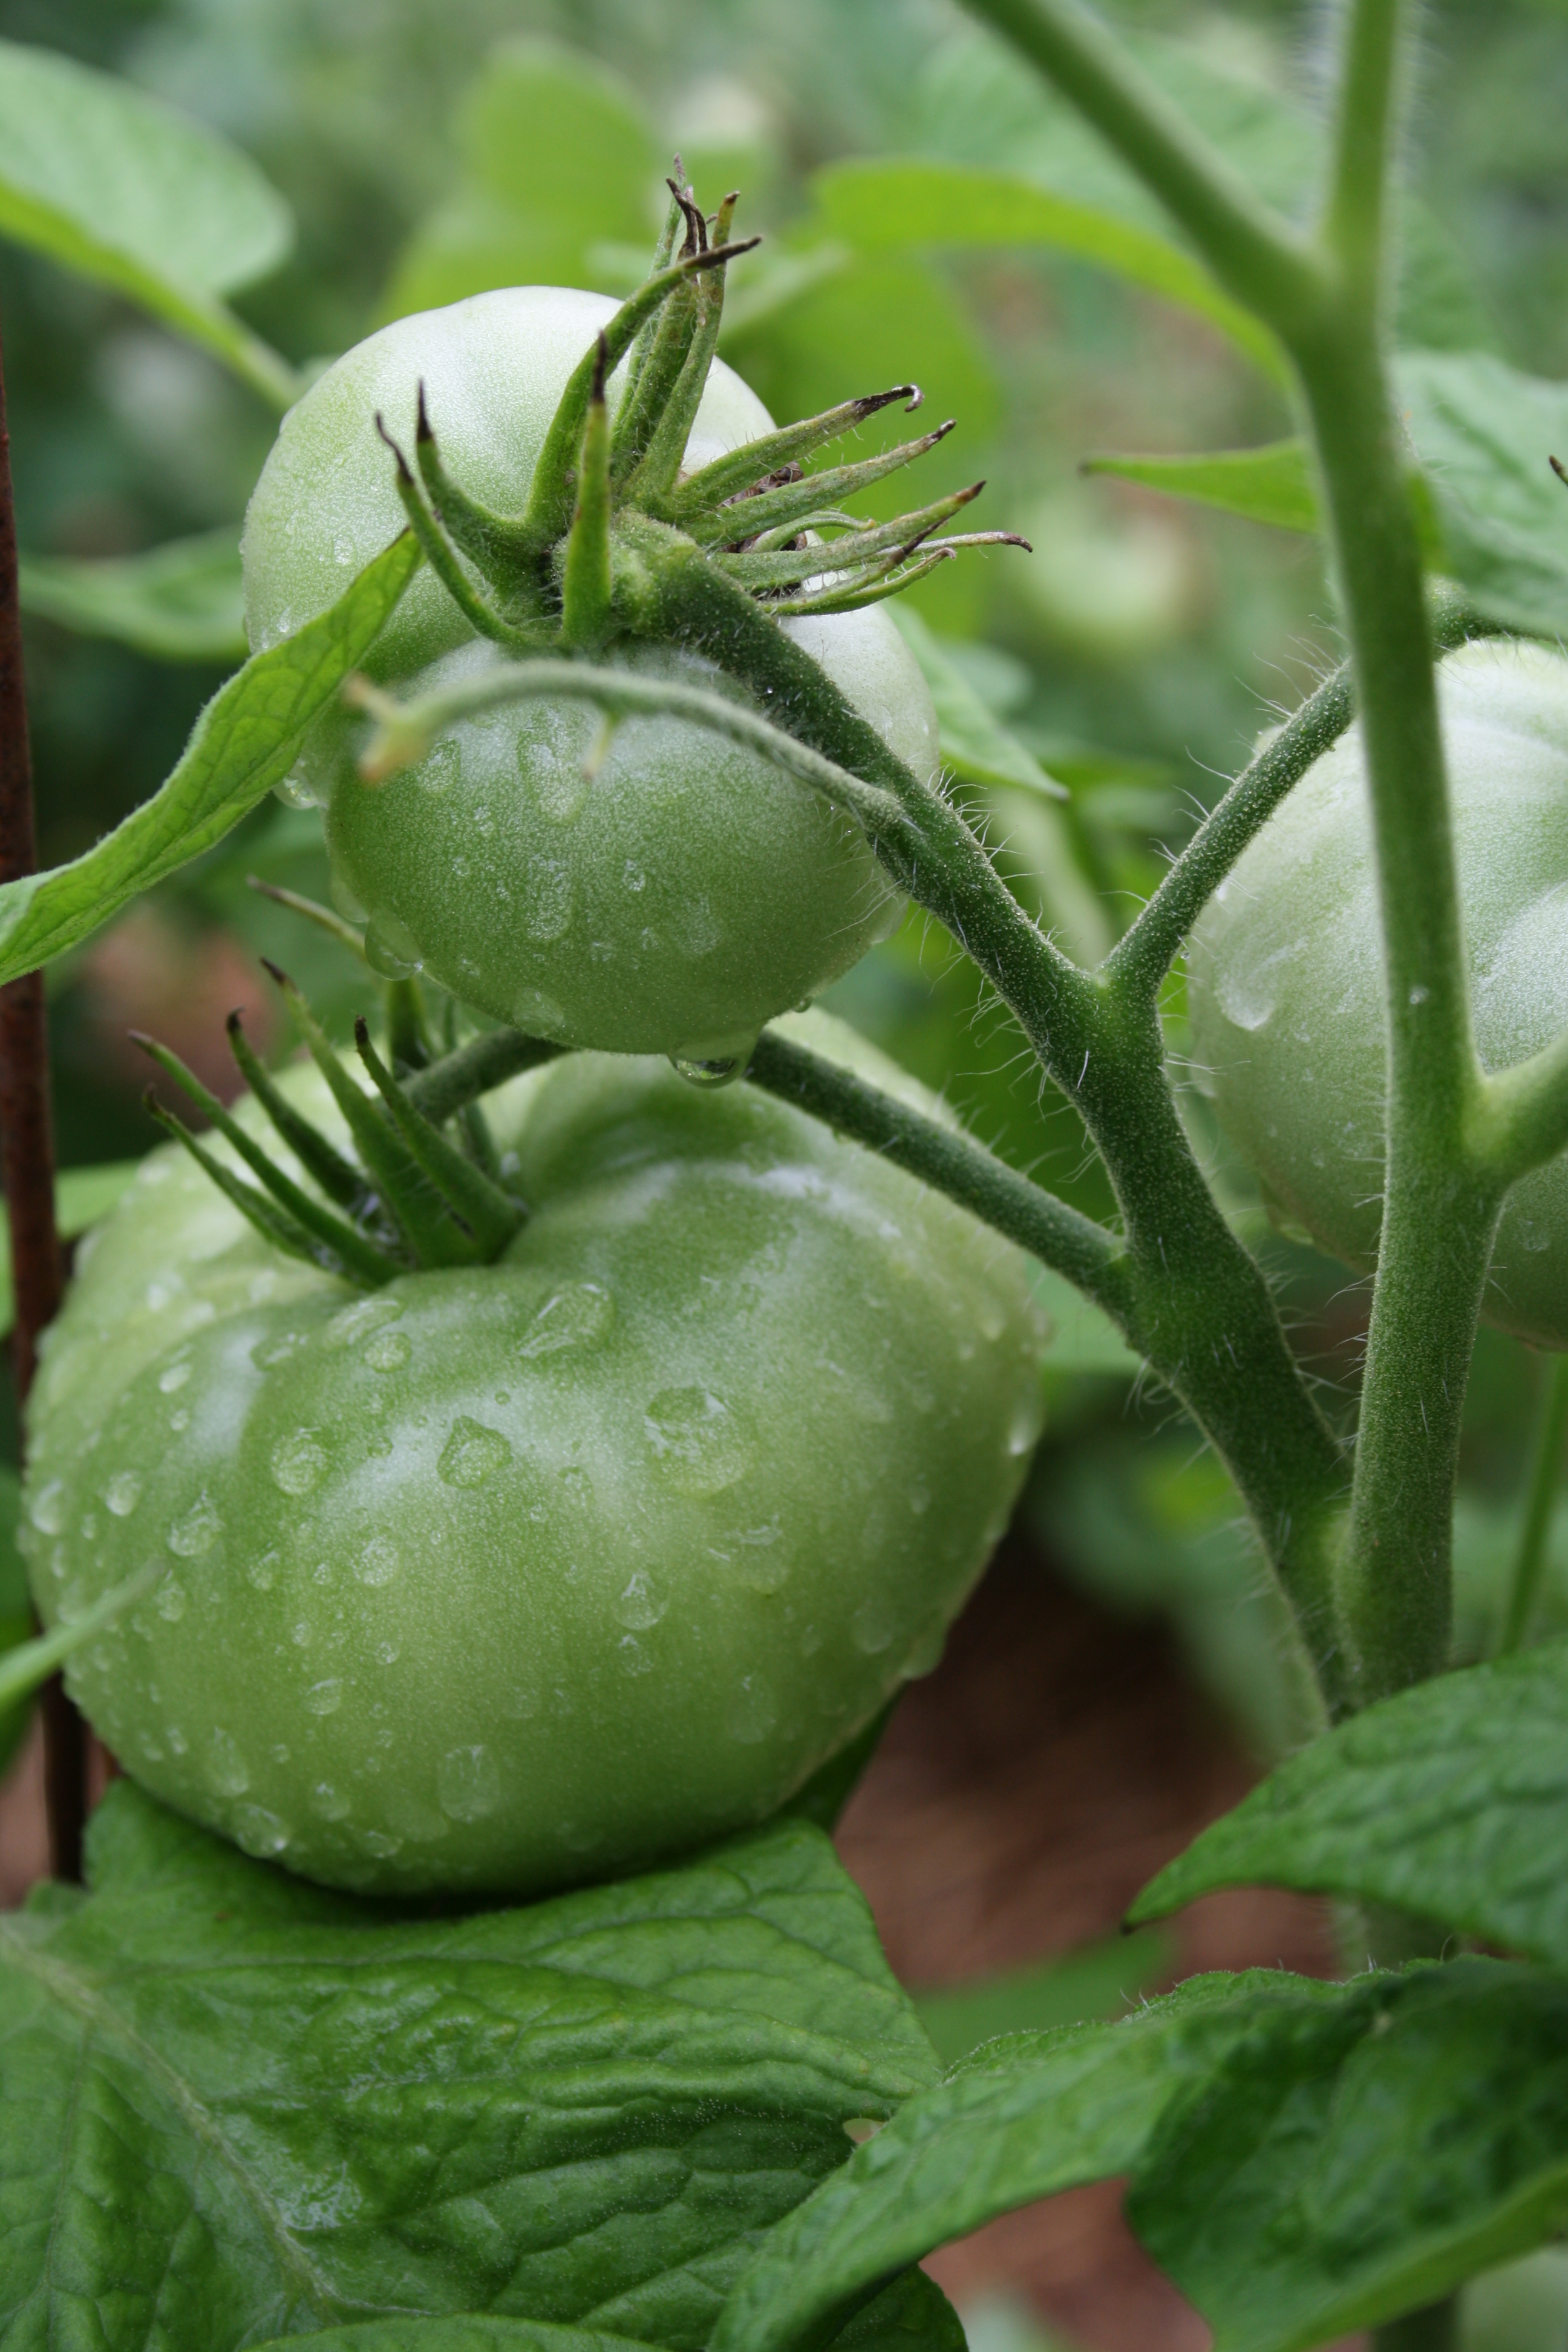
How to Beat the Rising Cost of Produce

Lately I have heard a lot about the rising cost of produce.  Every week there is a story in the news about the drought in California, increased transportation costs, supply and demand issues, etc.  At the same time I see bigger, brighter, fancier and over stocked giant grocery stores being built a car drive away from the consumer.  I’m sure you pay for these fancy grocery stores too!

Then I look out my window and think that in a few weeks, I will be picking fresh salad greens, herbs, beans, peas, beets, carrots, turnips, potatoes, onions and strawberries all within a fresh morning walk and basically free.  Through the off-season, canned and frozen fruit and vegetables that came from the garden, again for free!

Saving money. just another good reason to start a vegetable garden this summer if you have not done so already.  Also a good reason to plan an expansion this year, maybe another raised bed or a few straw bales to increase production.  Even a small plot will start you on the path of savings.

The following article is from the Gardening Channel and covers some financial advantages of growing your own garden full of fresh vegetables.  It also goes into the “best bang for your buck” on which vegetables to grow to save the most.

Saving Money with Your Vegetable Garden: How Much You Could Save?
Growing your own vegetables is bound to save you money during those all-too-frequent grocery shopping trips. But if you plan strategically, you can maximize the dollar potential of your vegetable garden. And we don’t mean selling your crops, which results in instant profit. Instead, we list some of the best and worst financial choices for your vegetable garden based on $2 seed packet purchases. Of course, what you grow is subject to personal preference; these options are purely based on savings potential.
First, let’s take a look at those vegetables that make the least financial sense. Potatoes and onions are so inexpensive at supermarkets that you will not save that much money by growing your own. Also, vegetables like cauliflower and artichokes that are especially susceptible to disease or pest infestation may yield fewer crops, thereby adding to your grocery list. Now for money-saving crops.

Salad Greens
Bags of spinach, arugula, or Swiss chard can cost as much as $5 per bag in stores. These also do not stay fresh for long, so if you cannot use entire bags at once, you are actually losing money.
In order to ensure a continuous supply (not surplus) of fresh greens, plant some seeds each week. These easy-to-grow greens only need about 4-6 hours of sunlight per day and moist soil at least 6 inches deep.
How does this add up? If your garden ends up producing 20 weeks’ worth of salad greens and you previously bought 3 bags weekly for $4 each, you just saved $240 by growing your own versatile leafy greens.

Heirloom cherry tomatoes
With pint prices similar to salad greens, you can save lots of cash by producing your own heirloom cherry tomatoes. This variety has a longer growing season and higher yield, which makes financial sense.
Make sure your plants have at least 6 hours of sunlight per day. One plant can produce about 20 pints of heirloom cherry tomatoes.
How does this add up? If you produce 60 pints of cherry tomatoes per season and avoid spending $5 per pint, you just saved $300 this season.

Heirloom green beans
These heavy heirloom crops can cost as much as $6/lb in markets, much more than other green bean varieties, which makes these crops ideal money-savers. Each seed packet you buy can produce pounds of beans.
Full sunlight is necessary for these beans. And for maximum savings, opt for beans that grow upright on vines, which will yield additional pounds simply due to available space.
How does it add up? Assume ten plants produce three pounds of beans each: your savings comes to $180.

Herbs
Finally, an endless supply of herbs can make a real dent in your grocery bill. You can either spend $3 on a single fresh sprig or buy a four-pack of starter plants. Here’s where the savings really add up: each plant can produce 50 times as much as what you can get for that $3 at the supermarket.
Herb plants will need 4-6 hours of sunlight per day. Make sure to clip flower buds for maximum flavor.
How does this add up? If your four herb plants each produce 50 sprigs, you just saved $600 this season on herbs. However, this is a lot of herbs! Even if you only use the yield of one crop, your savings equals $150. Freeze the rest using filled ice cube trays to use over winter.

Start saving your money!

Tom

Original Source: http://www.gardeningchannel.com/maximizing-vegetable-garden-savings/
For additional resources on how to best utilize your vegetable garden to save money, visit:
http://online.wsj.com/news/articles/SB123983924976823051
http://msue.anr.msu.edu/news/can_a_vegetable_garden_save_you_money
http://www.marketplace.org/topics/your-money/numbers/how-much-does-organic-gardening-really-save-you

http://www.newdream.org/blog/2011-09-calculating-the-savings-in-growing-your-own-food

What we have learned about starting seeds

Depending on where you live, you have either started or getting ready to start seeds for this year’s garden. There is a lot of information available on how to start seeds indoors.  A quick Google search comes up with over 600,000 references on how to start seeds indoors.  So you can get the basics through a quick search.  Today’s blog will be about what we have learned.  What has worked and provided success for our seed starting.
Here are some things we have learned over the years about stating seeds indoors.
1. Resist starting too early  –  Use the “last frost” date as a guide.  A quick check of the Farmer’s Almanac (Canada, US) will present the last frost date for your part of the world. In our case,  around May 20th would be the ”last frost date”.  Using May 20th as our guide, we check journal entries for previous years and determine a planting date.  The planting date is when the seedlings go in the ground or other seeds are direct sown.  For seedlings, it is important to account for “hardening off” in your calculations (7-10 days).   More important than frost date is the soil temperature.  For most of the last 5 years the soil temperature becomes suitable for transplanting May 24th to June 1st.

Plant List from Garden Planer (Enlarge)

If you use the Garden Planer print out the planting guide for the garden you designed. A Gantt chart showing starting dates, planting dates and harvest dates is produced to guide you through the garden season.

You can download a Seed Starting Planner from The Organic Gardener website to help in your planning.

Example: Roma Tomatoes:  Start 6-8 weeks before last frost date May 20th.  (March 25th – April 8th)  Planting date of June 1st less 8-10 days hardening off, puts us at May 23rd to May 25th.  So anytime between March 25th to April 8th works for us based on the Farmers Almanac, our set out dates of past years, and our recorded soil temperatures the last five years. 2. Keeping good records gives confidence in your planting!

3. Starting containers – Almost any container can be used to start seeds. Be sure they are clean by washing in soap and water and rinsing in a mild bleach solution. Provide some drainage to the bottom and place in waterproof trays.  This allows for bottom watering.

4.Bottom watering will increase your success in starting seeds.  We have always used biodegradable peat pots for containers and black plastic trays designed for seed starting.  If you want to make your own, here are 7 DIY Seed Pots you can make.

5. Quality Starter Mix – Use a quality seed starter mix.  A soiless mix, usually a combination of peat moss and vermiculite is best.  We avoid starting mixes that are “pre-fertilized” preferring to use organic fertilizers latter.  You can also make your own starter mix and take complete control.

6. Carefully sow seed – Sow what you need. If you plan on four pepper plants in your garden, then sow 8 seeds, two per container.  At a low 50% germination , you will have your four pepper plants and maybe some extras for your friends.  Make sure the grow mix is moist and sow seed according to the instructions on the package.  Seed depth is important. Usually the seed is sown to a depth of three times it’s size.  Place seeds carefully on the surface of the mix and sprinkle an appropriate amount of mix on top of the seed. Sow 3 to 4 seeds per pot and thin to 2 or 3 after germination if needed.   Cover the seeded tray with sheet of plastic, saran wrap or plastic dome. You will eventually move each seeding to a lager pot.  We have found that cucumbers are an exception as they do not like being disturbed too much.  We start cucumbers in larger bio-degradable pots to avoid over handling and transplant directly to the garden.

7. Warmth is ImportantBottom heat is needed for good seed germination. You can provide for warmth by using a heating pad designed for seed starting, placing trays on top of your fridge, or a space heater set up to give warmth to the bottom of the trays. If you have heated floors in your house lay your trays out and watch your step!  You will have results without the bottom warmth, but you will have better results with bottom warmth.  Once the seeds have germinated, remove from heat source.  Seedlings do not need the same warmth.  Be sure to maintain a moist soil and be careful not to over water.

8. Use artificial light – Once germinated the seedlings will need lots of light.  The seedlings will fight for light and reach out for it.  Seedlings will become weak and spindly without an adequate light source. Use an artificial light source (fluorescent) hung just above the seedlings, raise the light as the seedlings grow and provide light for about sixteen hours a day.

9. Feed the seedlings – After the seedlings have the first true leaves use a weak solution (1/4 of normal) organic fertilizer (compost tea, fish emulsion and seaweed extract)  every 1-2 weeks until they’re ready for planting out.

10. Get a Fan – After transplanting seedlings to larger pots, place a fan to blow gently over the seedlings through the day.  This will help develop a stronger and hardier plant.  You can gently brush your hand over the seedlings a couple times a day as well.

11. Be ruthless – Thin your seedlings to allow only the strongest and healthiest to continue.

12. Be patient – Check the germination trays and the seedlings each day.  Also if you do not have a heated green house to accommodate starting your own seeds, be prepared to have your home taken over. for a couple of months!

Some thoughts

Starting your own seeds is not difficult, but requires planning, a methodical approach, patience and TLC.  Remember to make journal entries of your seed starting experiences.

Share the magic with others in your household.  Involve children is the garden cycle from the beginning.  Allow them to start their own seeds for their own garden and provide the care needed.

The rewards are well worth the effort when you bite into a sun drenched Big Beef Tomato that you started as a tiny seed in April.  You also know the source of the food you eat and know how it was grown.

Time to prepare the soil mix and fill some pots.

Tom and Di


Find the Magic

In an earlier post, we shared our gardening goals (Garden Planning – Set Goals for Your Garden).  People will choose to garden for whatever purpose meets their needs. People will garden in different ways.  From patio containers to large agricultural production.  Traditional rows to raised beds and square foot gardening.  Some like us will experiment with many ways to meet our gardening needs.

There are many other reasons people choose to garden.  Activity and fitness, stress relief, get outdoors, 10806484_403419183141005_5096243297421317243_nenjoy nature, are all reasons people garden.  Whatever your reason or purpose is to garden,  we hope you can find the magic!  That childhood sense of wonder that exudes from your garden as the landscape evolves from barren earth to green foliage bearing colourful fruit.  The miracle of tiny seeds to giant sunflowers, or the white blossom to the deep red strawberry warmed in the summer sun and exploding with sweetness.  The wondrous creatures that visit our gardens or inhabit the subterranean world.  With no slight of hand, the magic unfolds before our eyes every day we are in the garden.

Believe in the magic of your garden and you will find it.  Bring your children or grandchildren to your garden and discover the magic with them.  Perhaps it is this “magic” that brings gardeners to the patch of earth we so enjoy.

“And above all, watch with glittering eyes the whole world around you because the greatest secrets are always hidden in the most unlikely places. Those who don’t believe in magic will never find it.”
― Roald Dahl

 Until next time

Tom and Di

Buying Seeds

When we first arrived on the Homestead one of the first things we chose to do was put in a garden.  Our garden planning began in front of a seed display near the entrance of the Home Depot.  Captured by the colorful images of beautiful vegetables, we proceeded to select the seeds for our garden.  Although we were aware of terms like heirloom, hybrid, organic, hardiness zones and planting times, we continued to select and plan our garden based on the beautiful pictures on the seed packets.

We did have a reasonably successful harvest and we did enjoy some fresh vegetablesIMAG0579 throughout the summer.  We also were over planted, under planted, wasted a lot of seeds and had a lot of seeds left over.  It is from this experience that we suggest the following tips when it comes to buying seeds for your garden.

  1. Carefully plan your garden before you purchase your seed. Know how much space you have, how much sun you have, frost dates, and growing season.
  2. Evaluate what you grew last year. This emphasizes the importance of keeping a journal of what you planted, where you planted it, and how it performed.
  3. Select seeds to grow food that your family eats. If they don’t like Brussel Sprouts, don’t buy the seed.
  4. Choose varieties that meet your needs for storing, pickling, canning and your favorite dishes.
  5. Share information with other gardeners in your area. Find out what varieties work best for them. Make friends with the oldest gardener in your area!
  6. Check your seed inventory. What do you have left that you can use this year. Learn what you can about seed viability.
  7. Choose a local seed company or mail order suppliers in the same or similar geographical and climatic zone as your garden.

A few more considerations

  • If you plan for succession gardening buy the seeds you need for the growing season
  • Buy heirloom seeds and learn to save your own seeds and properly store them
  • Check seed suppliers for the Safe Seed Certificate and their policy regarding GMO.
  • Buy organic certified seeds.sniegocki-garden-journal-2-e1336703846515
  • Experiment with one or two new varieties each year.
  • Keep a journal.

Remember, quality seed will produce quality food.

Tom and Di