Starting a Vegetable Garden?

Starting a vegetable garden is an easy way to save money and with the recently high costs of fresh produce more people are choosing to start a vegetable garden this summer. Other reasons to start your own vegetable garden include
• Food safety, you have control of what you are going how it is going, and control over fertilizers and pesticides used.
• Access to fresh vegetables during the growing season, and the satisfaction of processing and storing your own homegrown vegetables for use in the off season.052
• Health benefits of active gardening cannot be understated. Gardening has benefits both the physical, mental and emotional health of its participants and can be a fun recreational pursuit for the whole family.
The important thing to remember is that gardening is not as difficult as you may think. The simplicity of gardening, of dropping the seed into soil, adding proper care and producing an edible vegetable is simply the way nature works.
By paying attention to a few basic rules and following a few recommendations, there is no reason for you not to have a successful productive garden this summer. You will be able to enjoy cheaper, more nutritious, and safer food through the summer season and be able to preserve and store your homegrown goodies for the winter.
Some basics
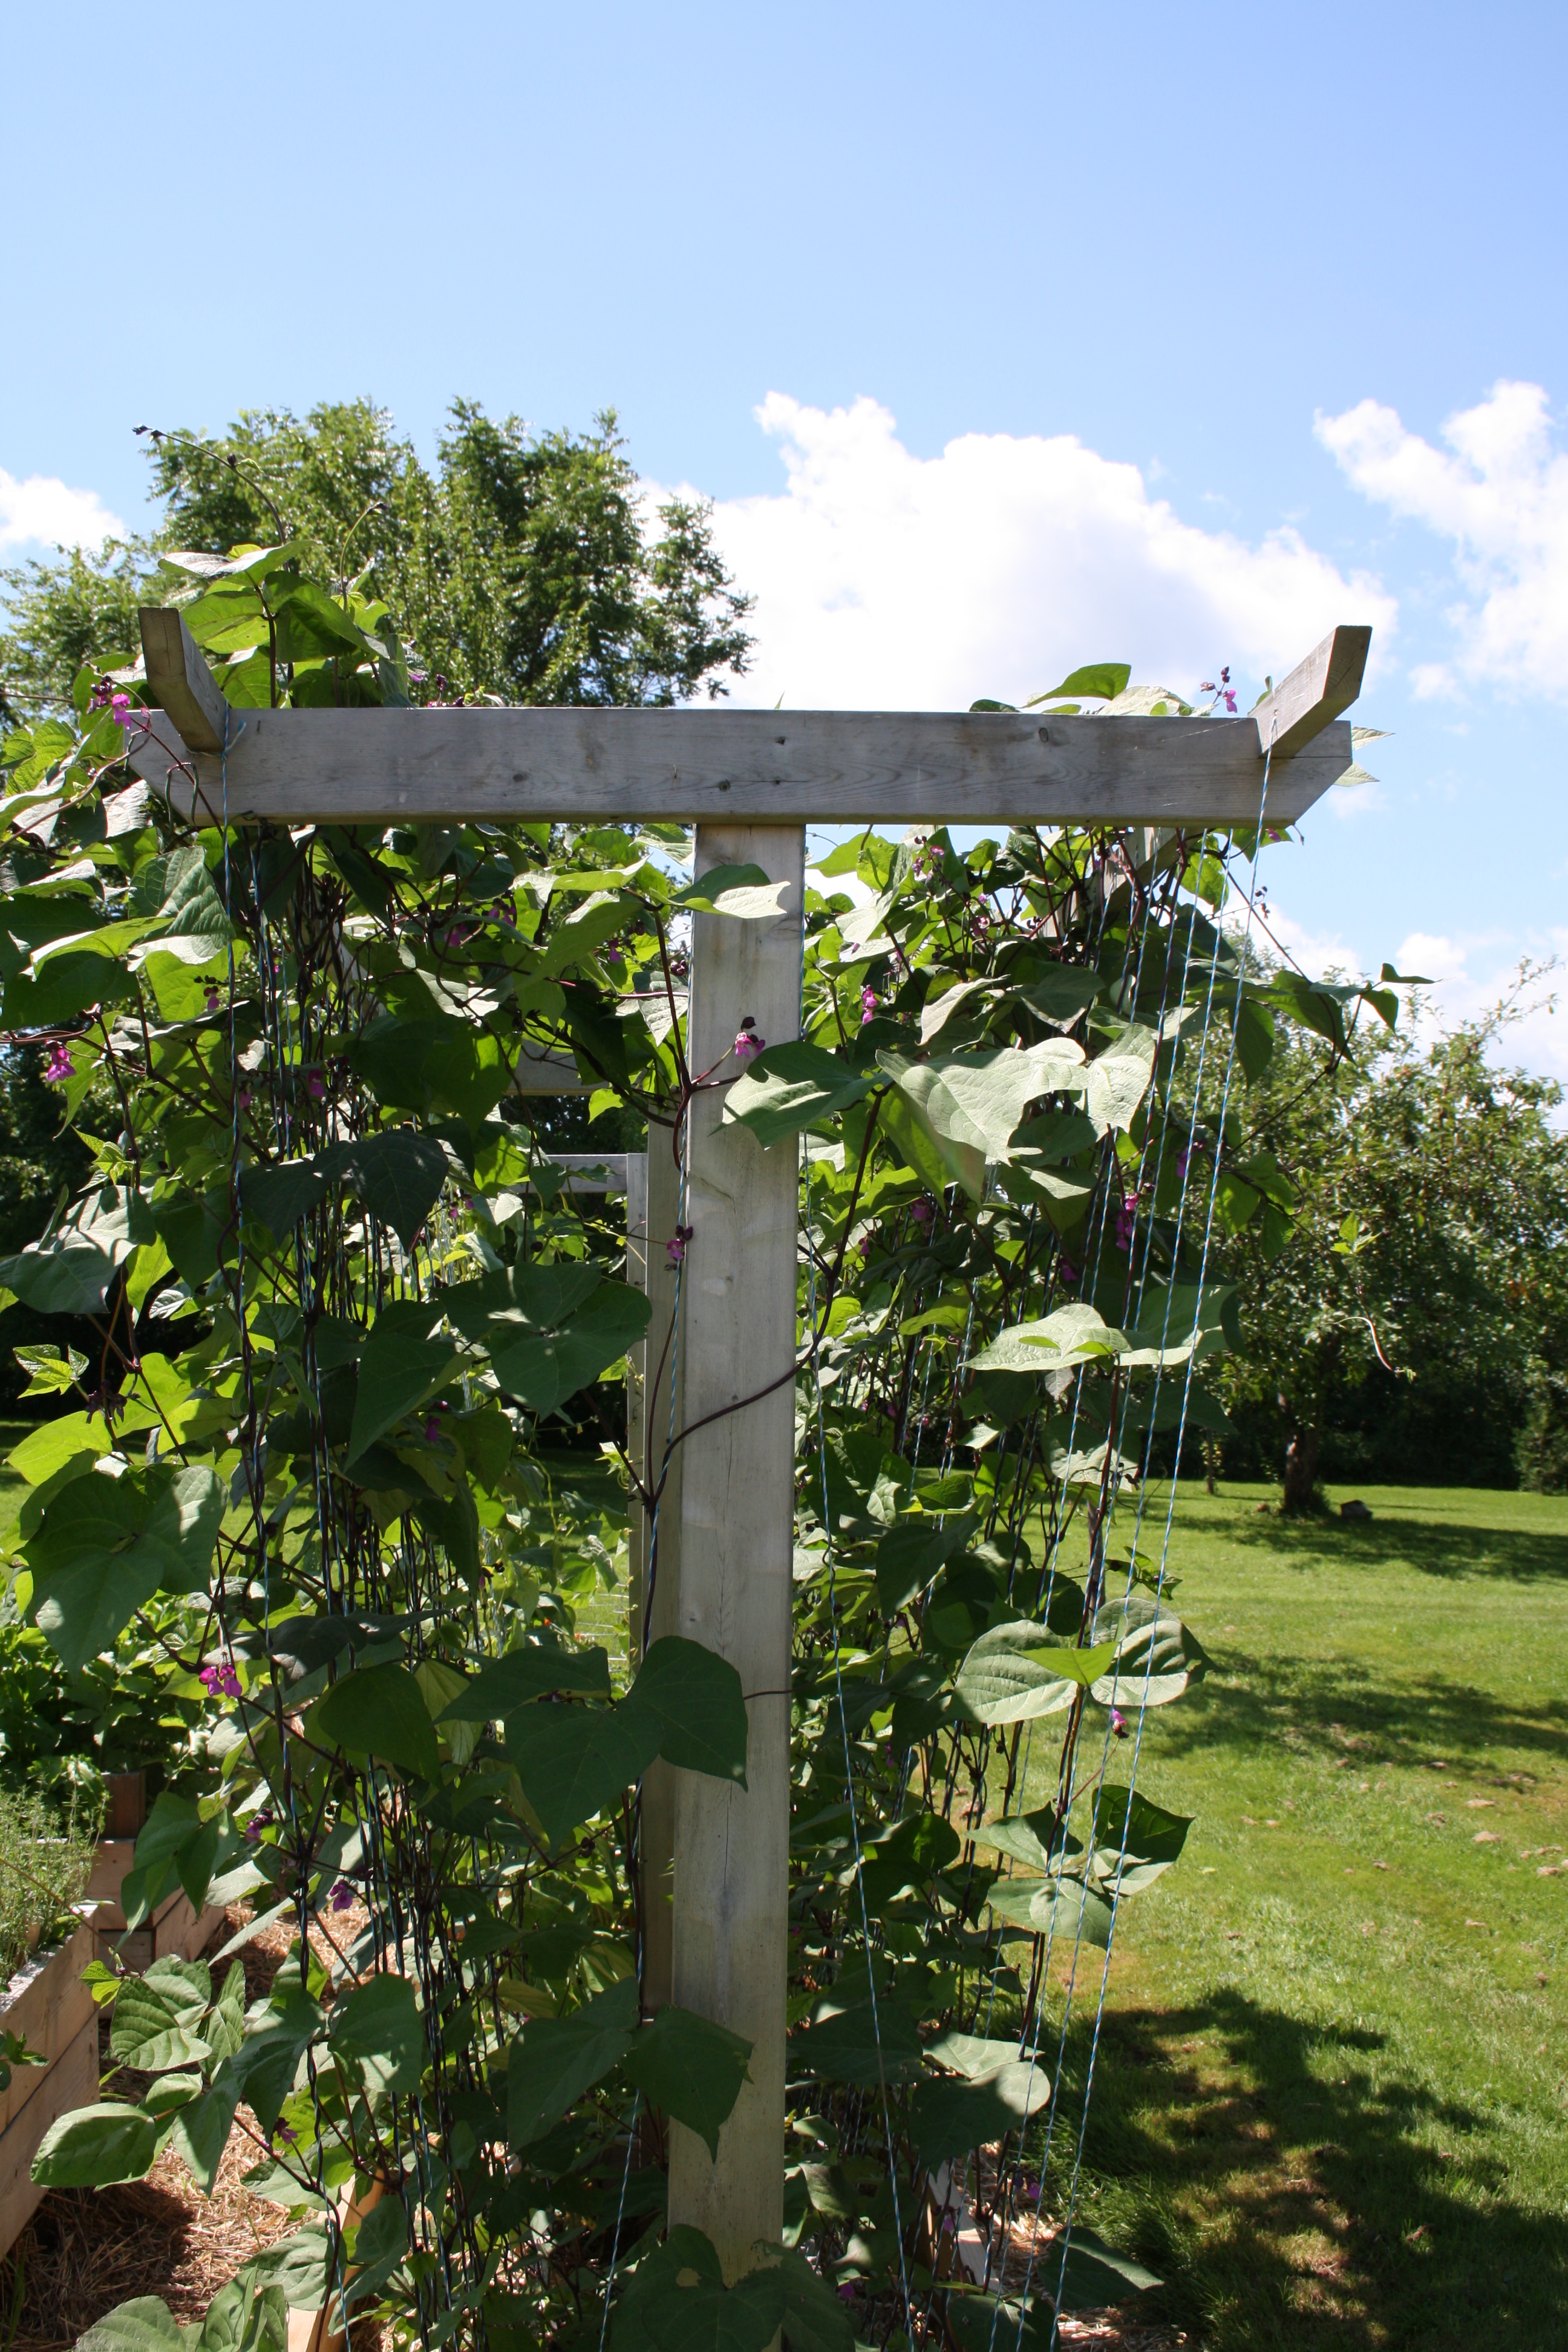
1. Location – some vegetable plants need full sun, some vegetable plants need partial shade. Try to select a location on your property that can provide a bit of both. If the area chosen is full sun, you can use row covers to provide some shade to the plants that need it.
2. You will also need an easily accessible source of water. A nearby faucet that can provide water through a hose, or close to a building that can provide water from gravity feed rain barrels will also do the trick. Hauling water in buckets is not an enjoyable experience for the gardener.
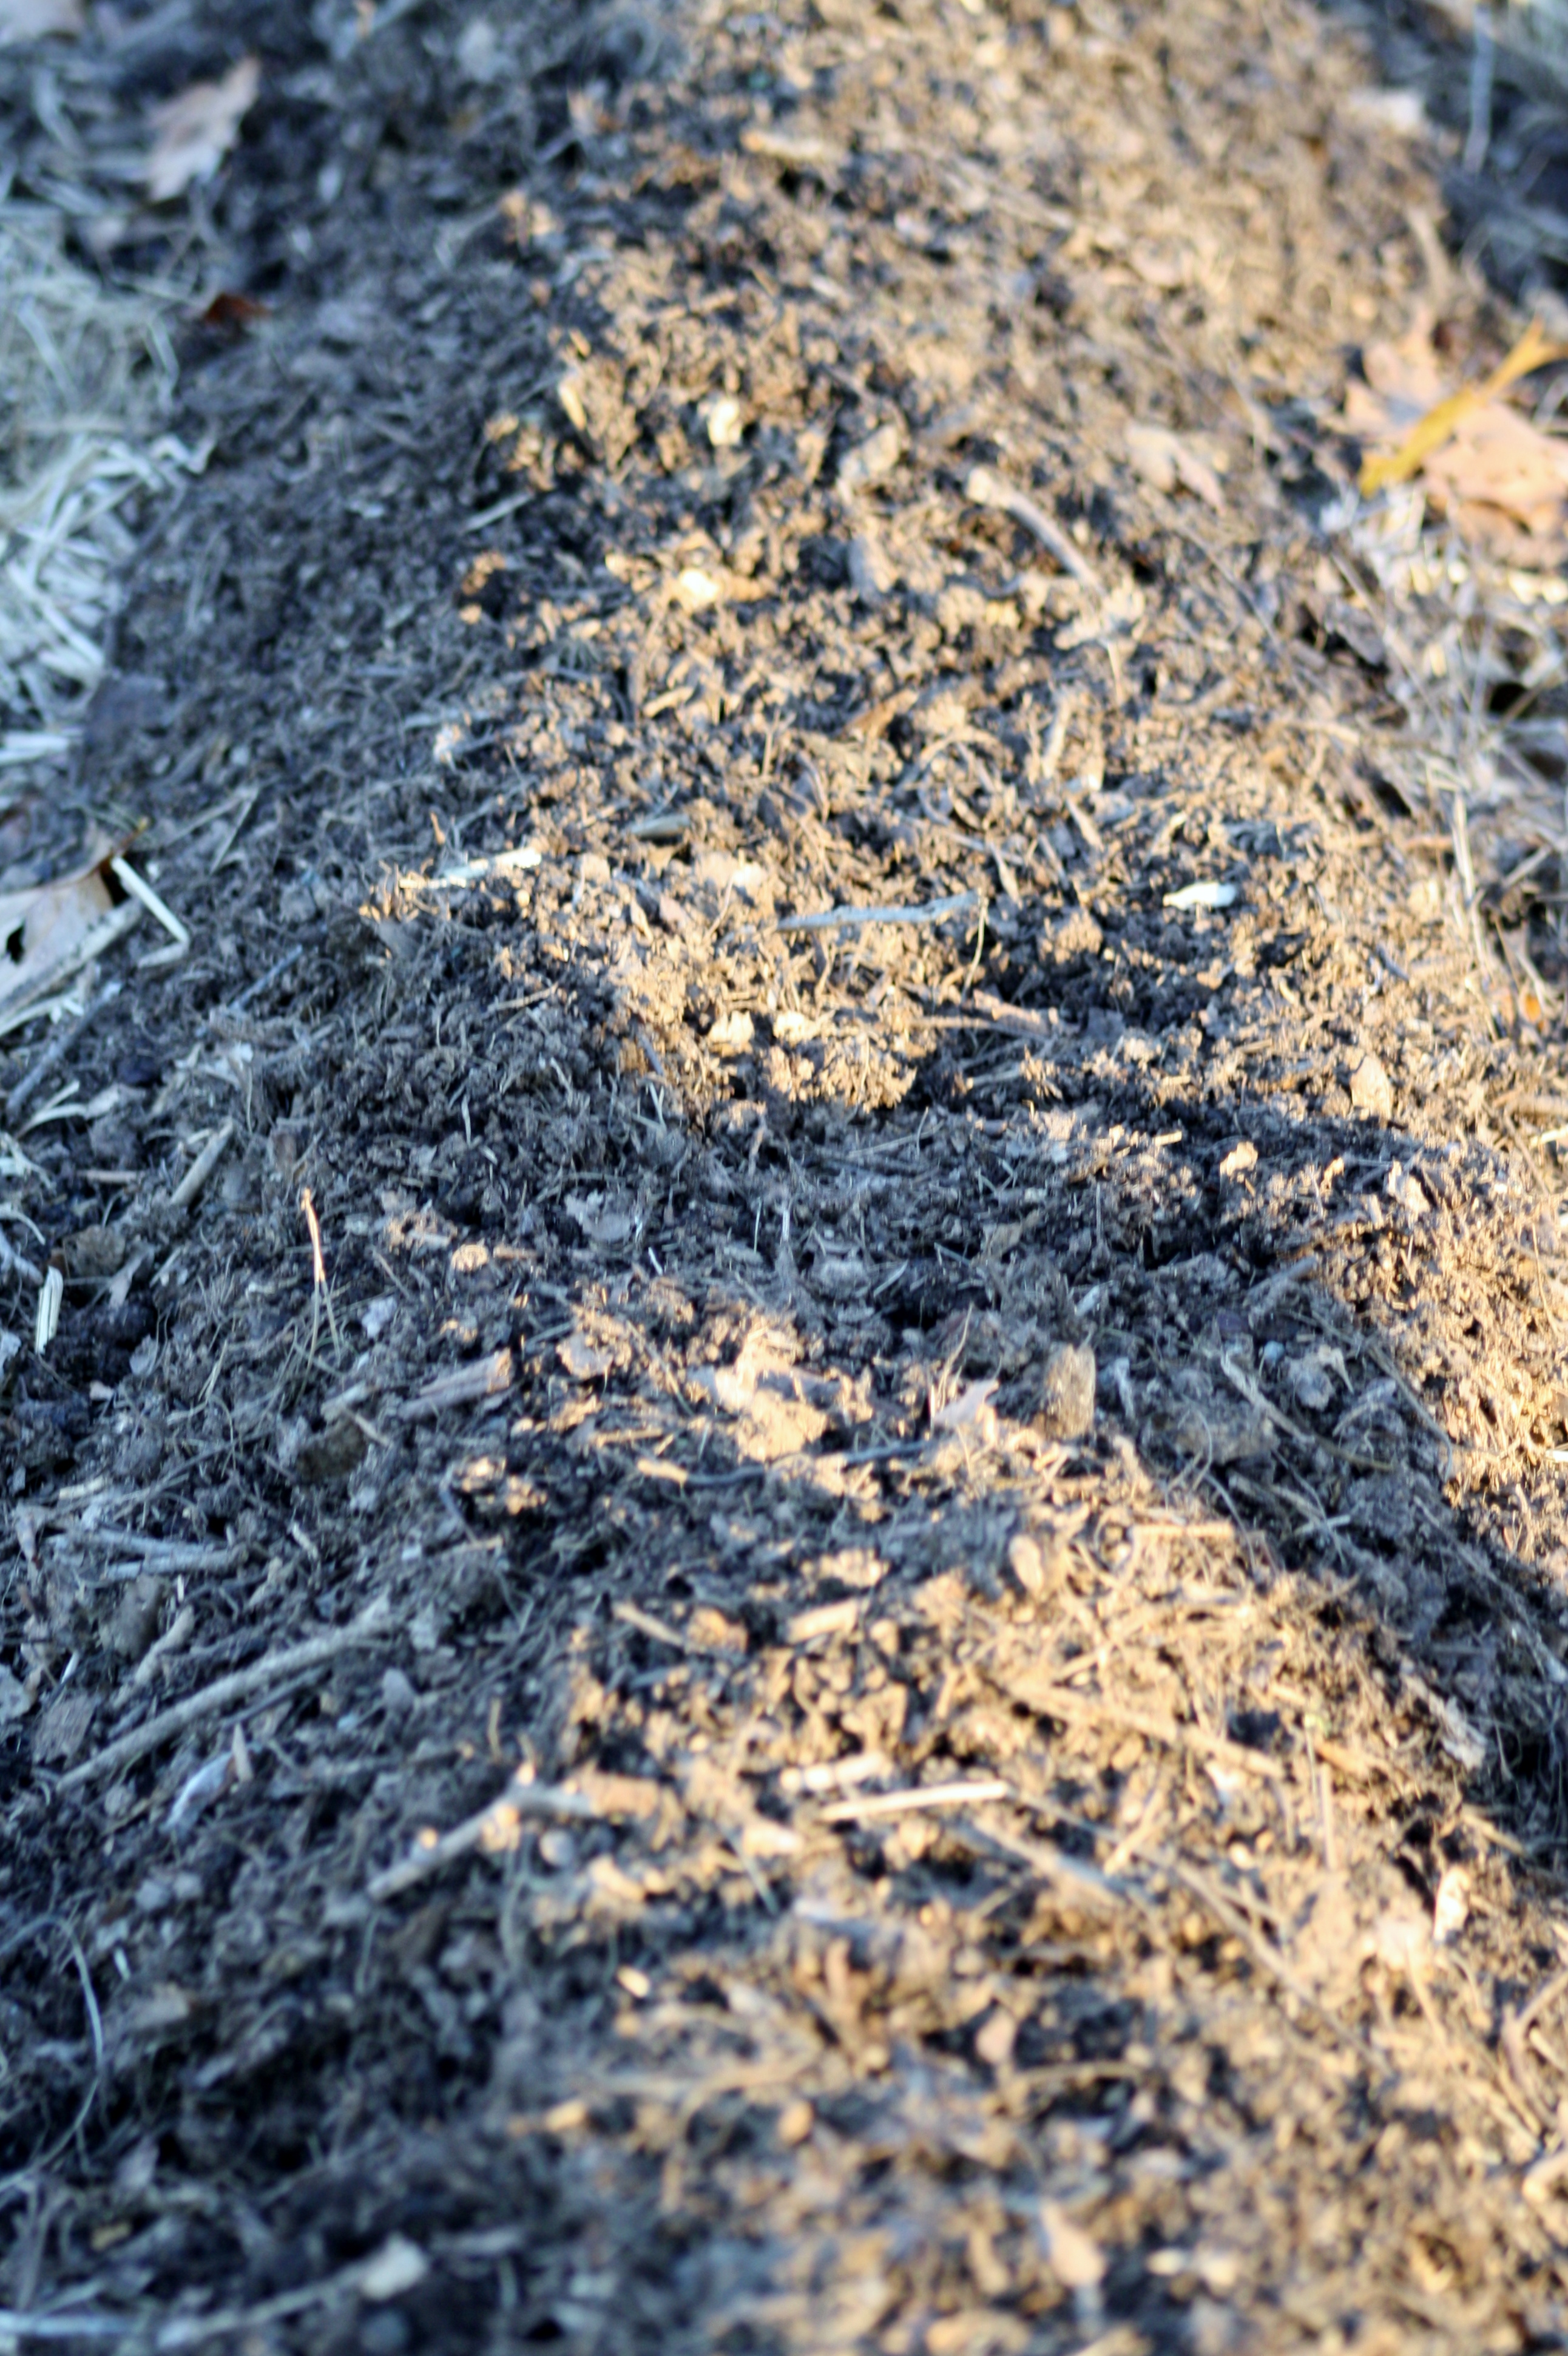
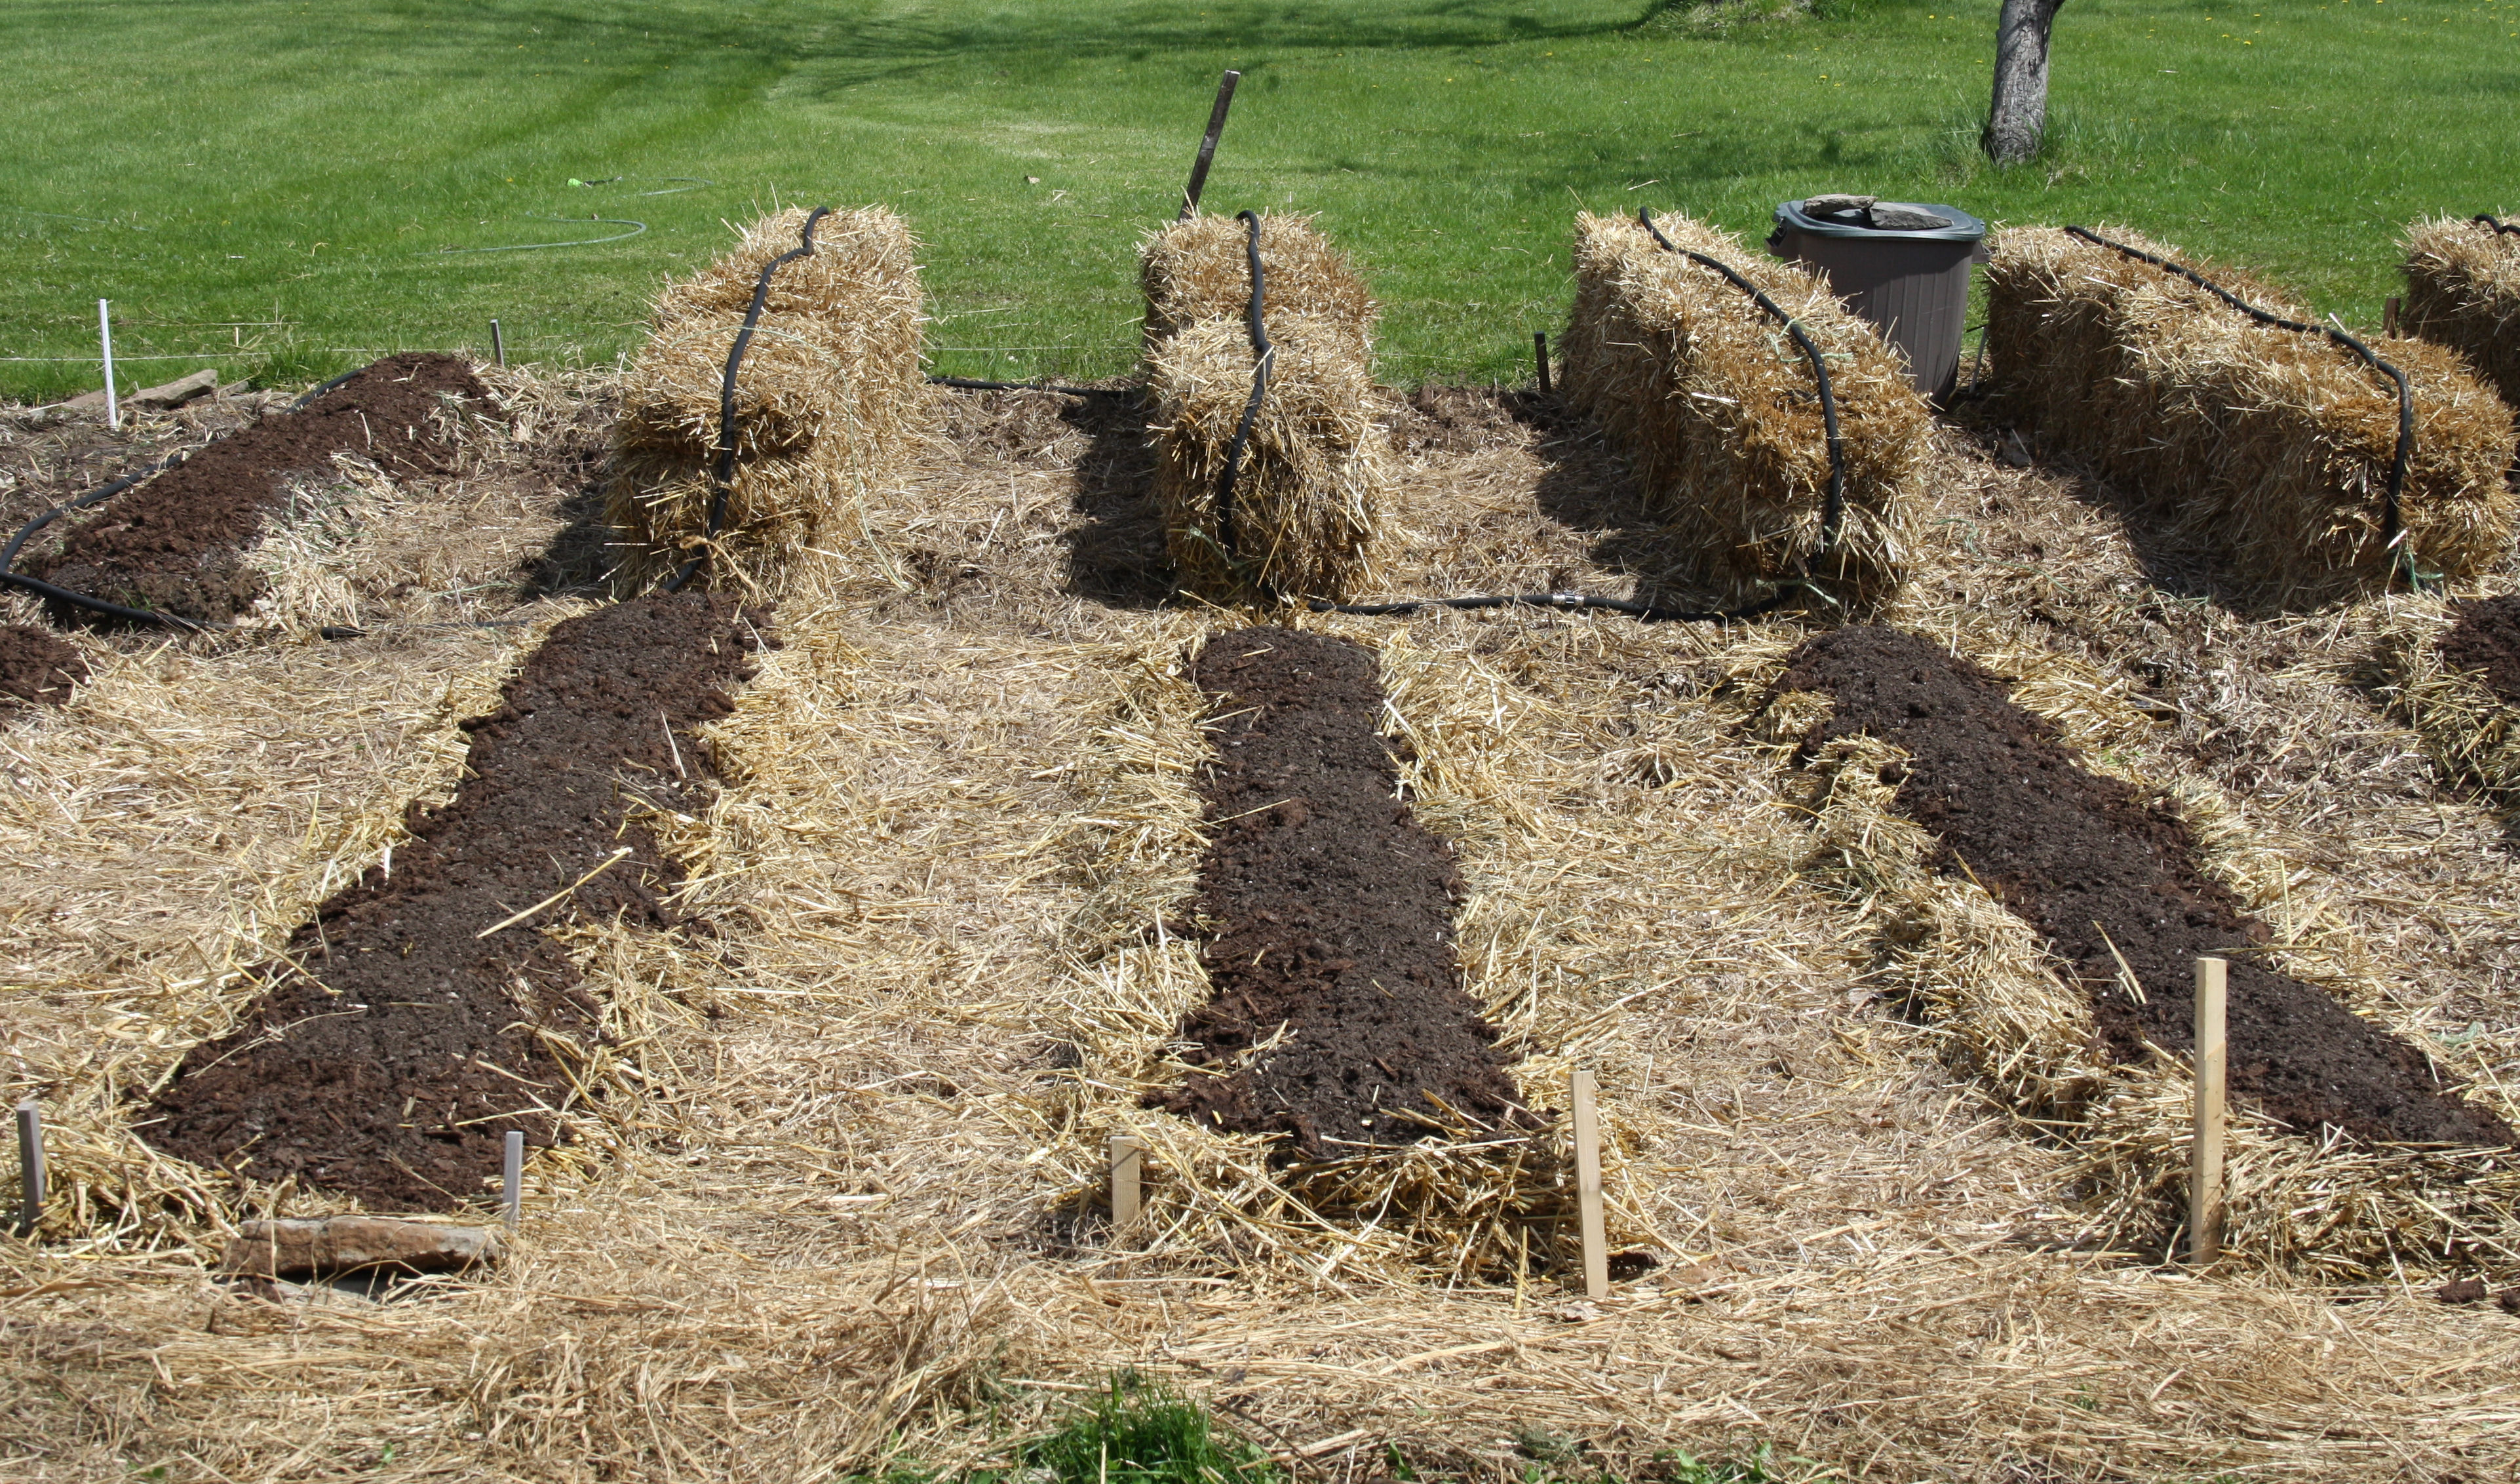
3. Good soil is the most important factor in a successful garden. Know your soil type and add lots of organic matter. We are fortunate to have rich sandy loam that drains well and have added as much organic matter as we can get over the past seven years. Compost, shredded leaves, grass clippings, aged sawdust all finds its way into the raised rows and raised beds.
4. Keep it natural. Avoid chemical fertilizers, pesticides and GMO seed and you can be assured you are feeding your family the very best of fresh produce. Grow like your grandparents did.

The recommendations
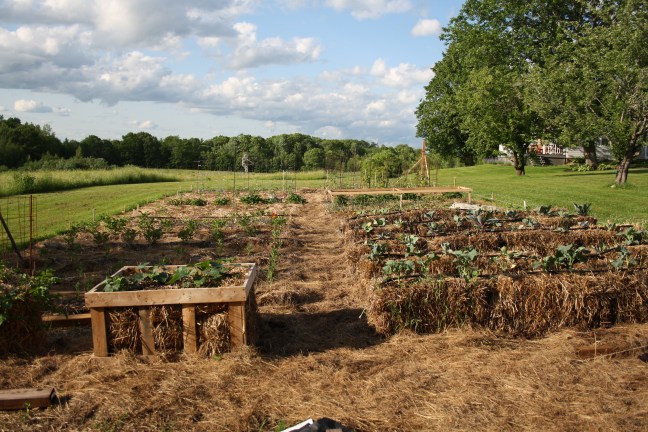
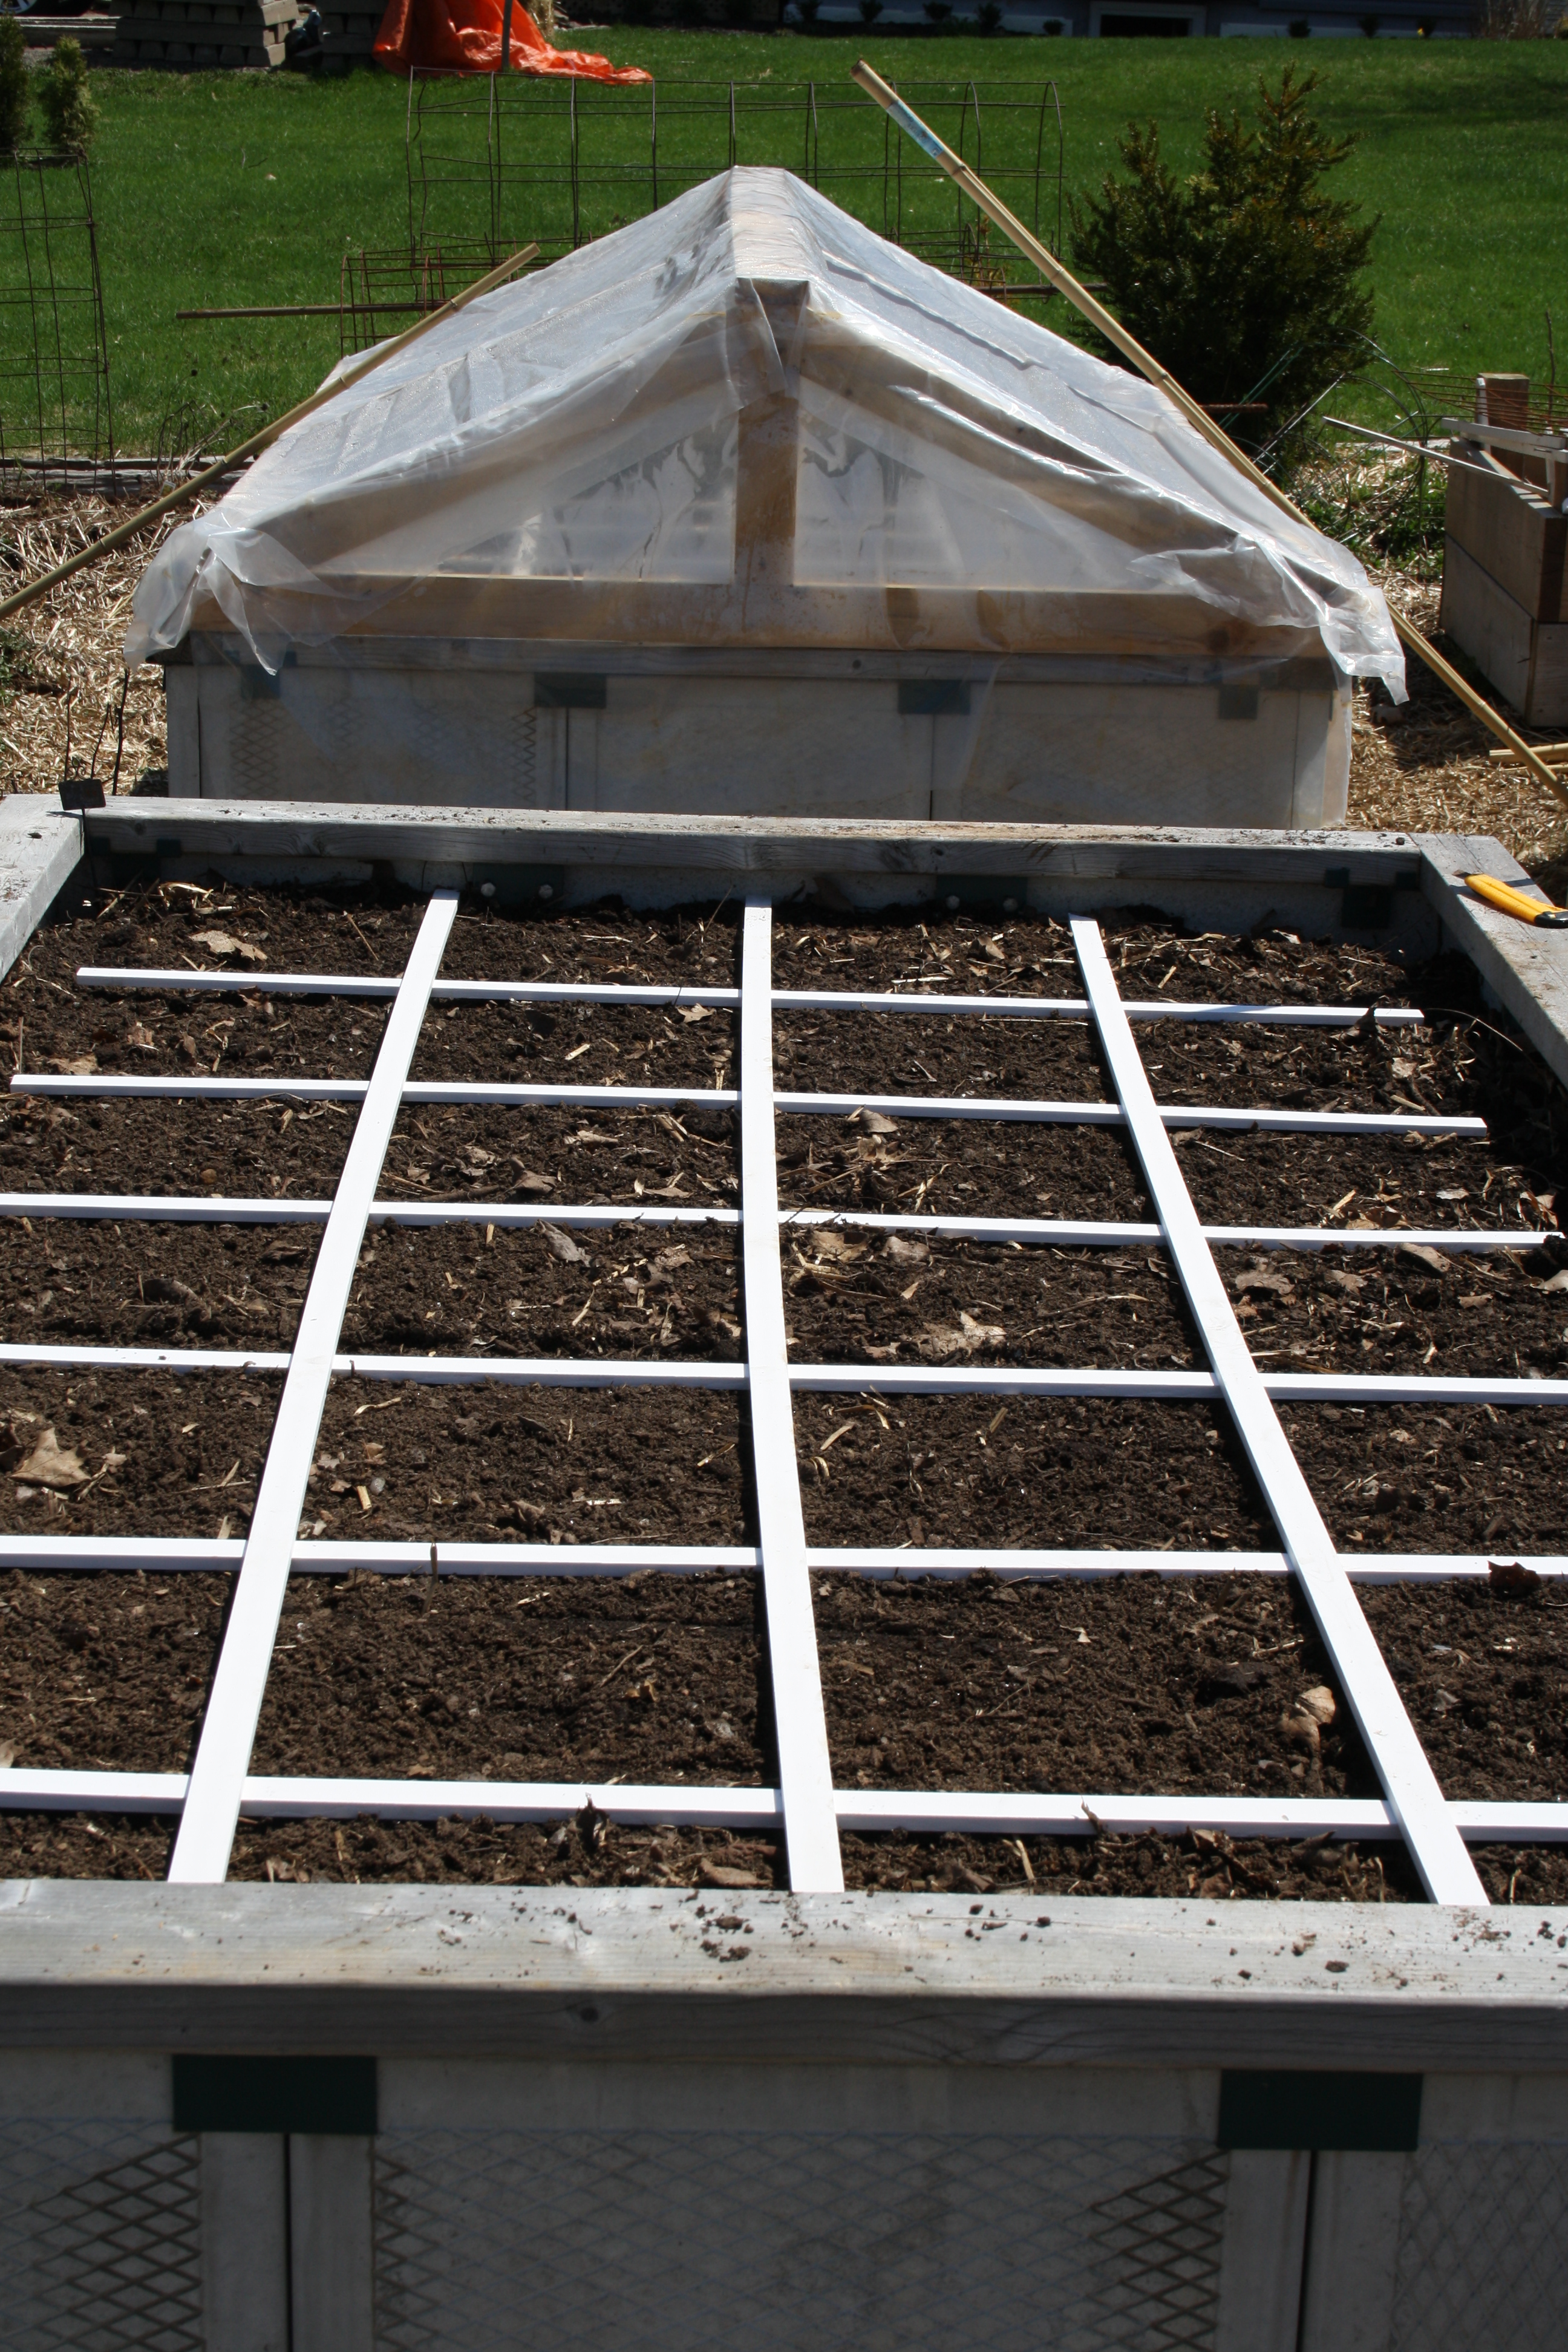
1. Keep it small and in control. A large garden demands more time and can prove to be overwhelming for the first time gardener. It is best to start small and as you gain experience and set new gardening goals allow the size of your garden to grow. A 10’ x 16’ garden can adequately provide for a family of four through the summer season and still supply foods for processing and storage into the winter months.
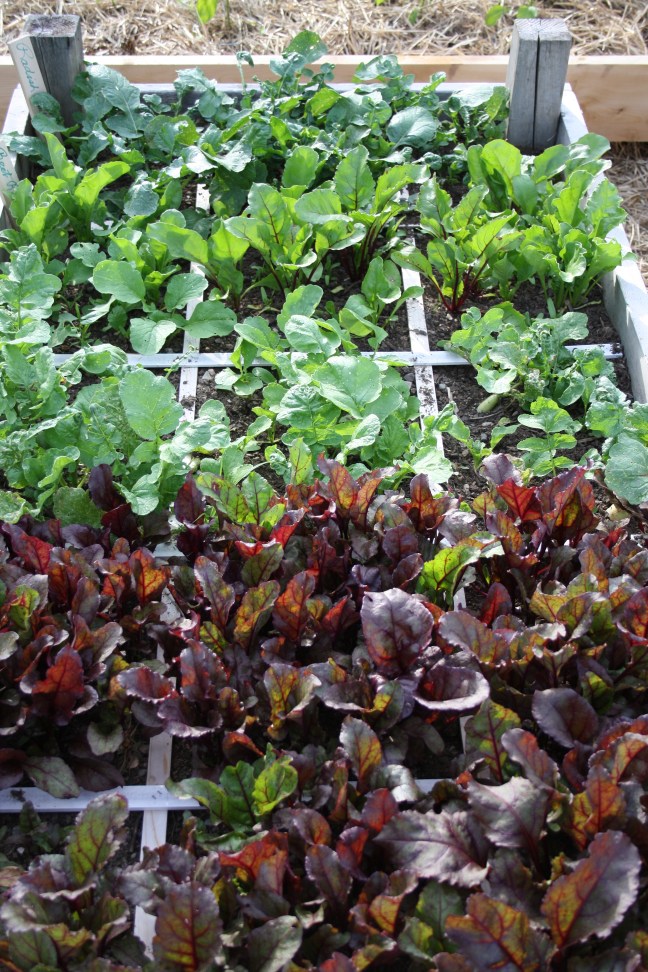
2. Plant what you will eat. Kale may be the new superfood. However, if no one in your family will eat it, it is taking up valuable gardening space. If you like fresh salads. Plant a variety of leafy greens that provide daily fresh salads. Like green beans, plant green beans and plant enough to vacuum pack and freeze and enjoy it with your Christmas dinner. Like salsa for movie nights? Grow tomatoes, onions and peppers. The idea here is to plant according to what your family likes to eat.
3. Source seeds locally. Avoid purchasing seeds where you do not know the source. Good seed, non-GMO seldom sells for $1.00 a package. Beware of low pricing as they could be re-packaged old seeds. Buy from a reliable source that is producing seed tested for your hardiness zone. The Creative Garden Patch sources seed in our geographical area. Last year we had super success with seed from Rainbow Seed, located in Riverside-Albert, NB and supplies non GMO, heirloom seed. Our garlic seed is sourced minutes away from the Gagetown Garlic Company.
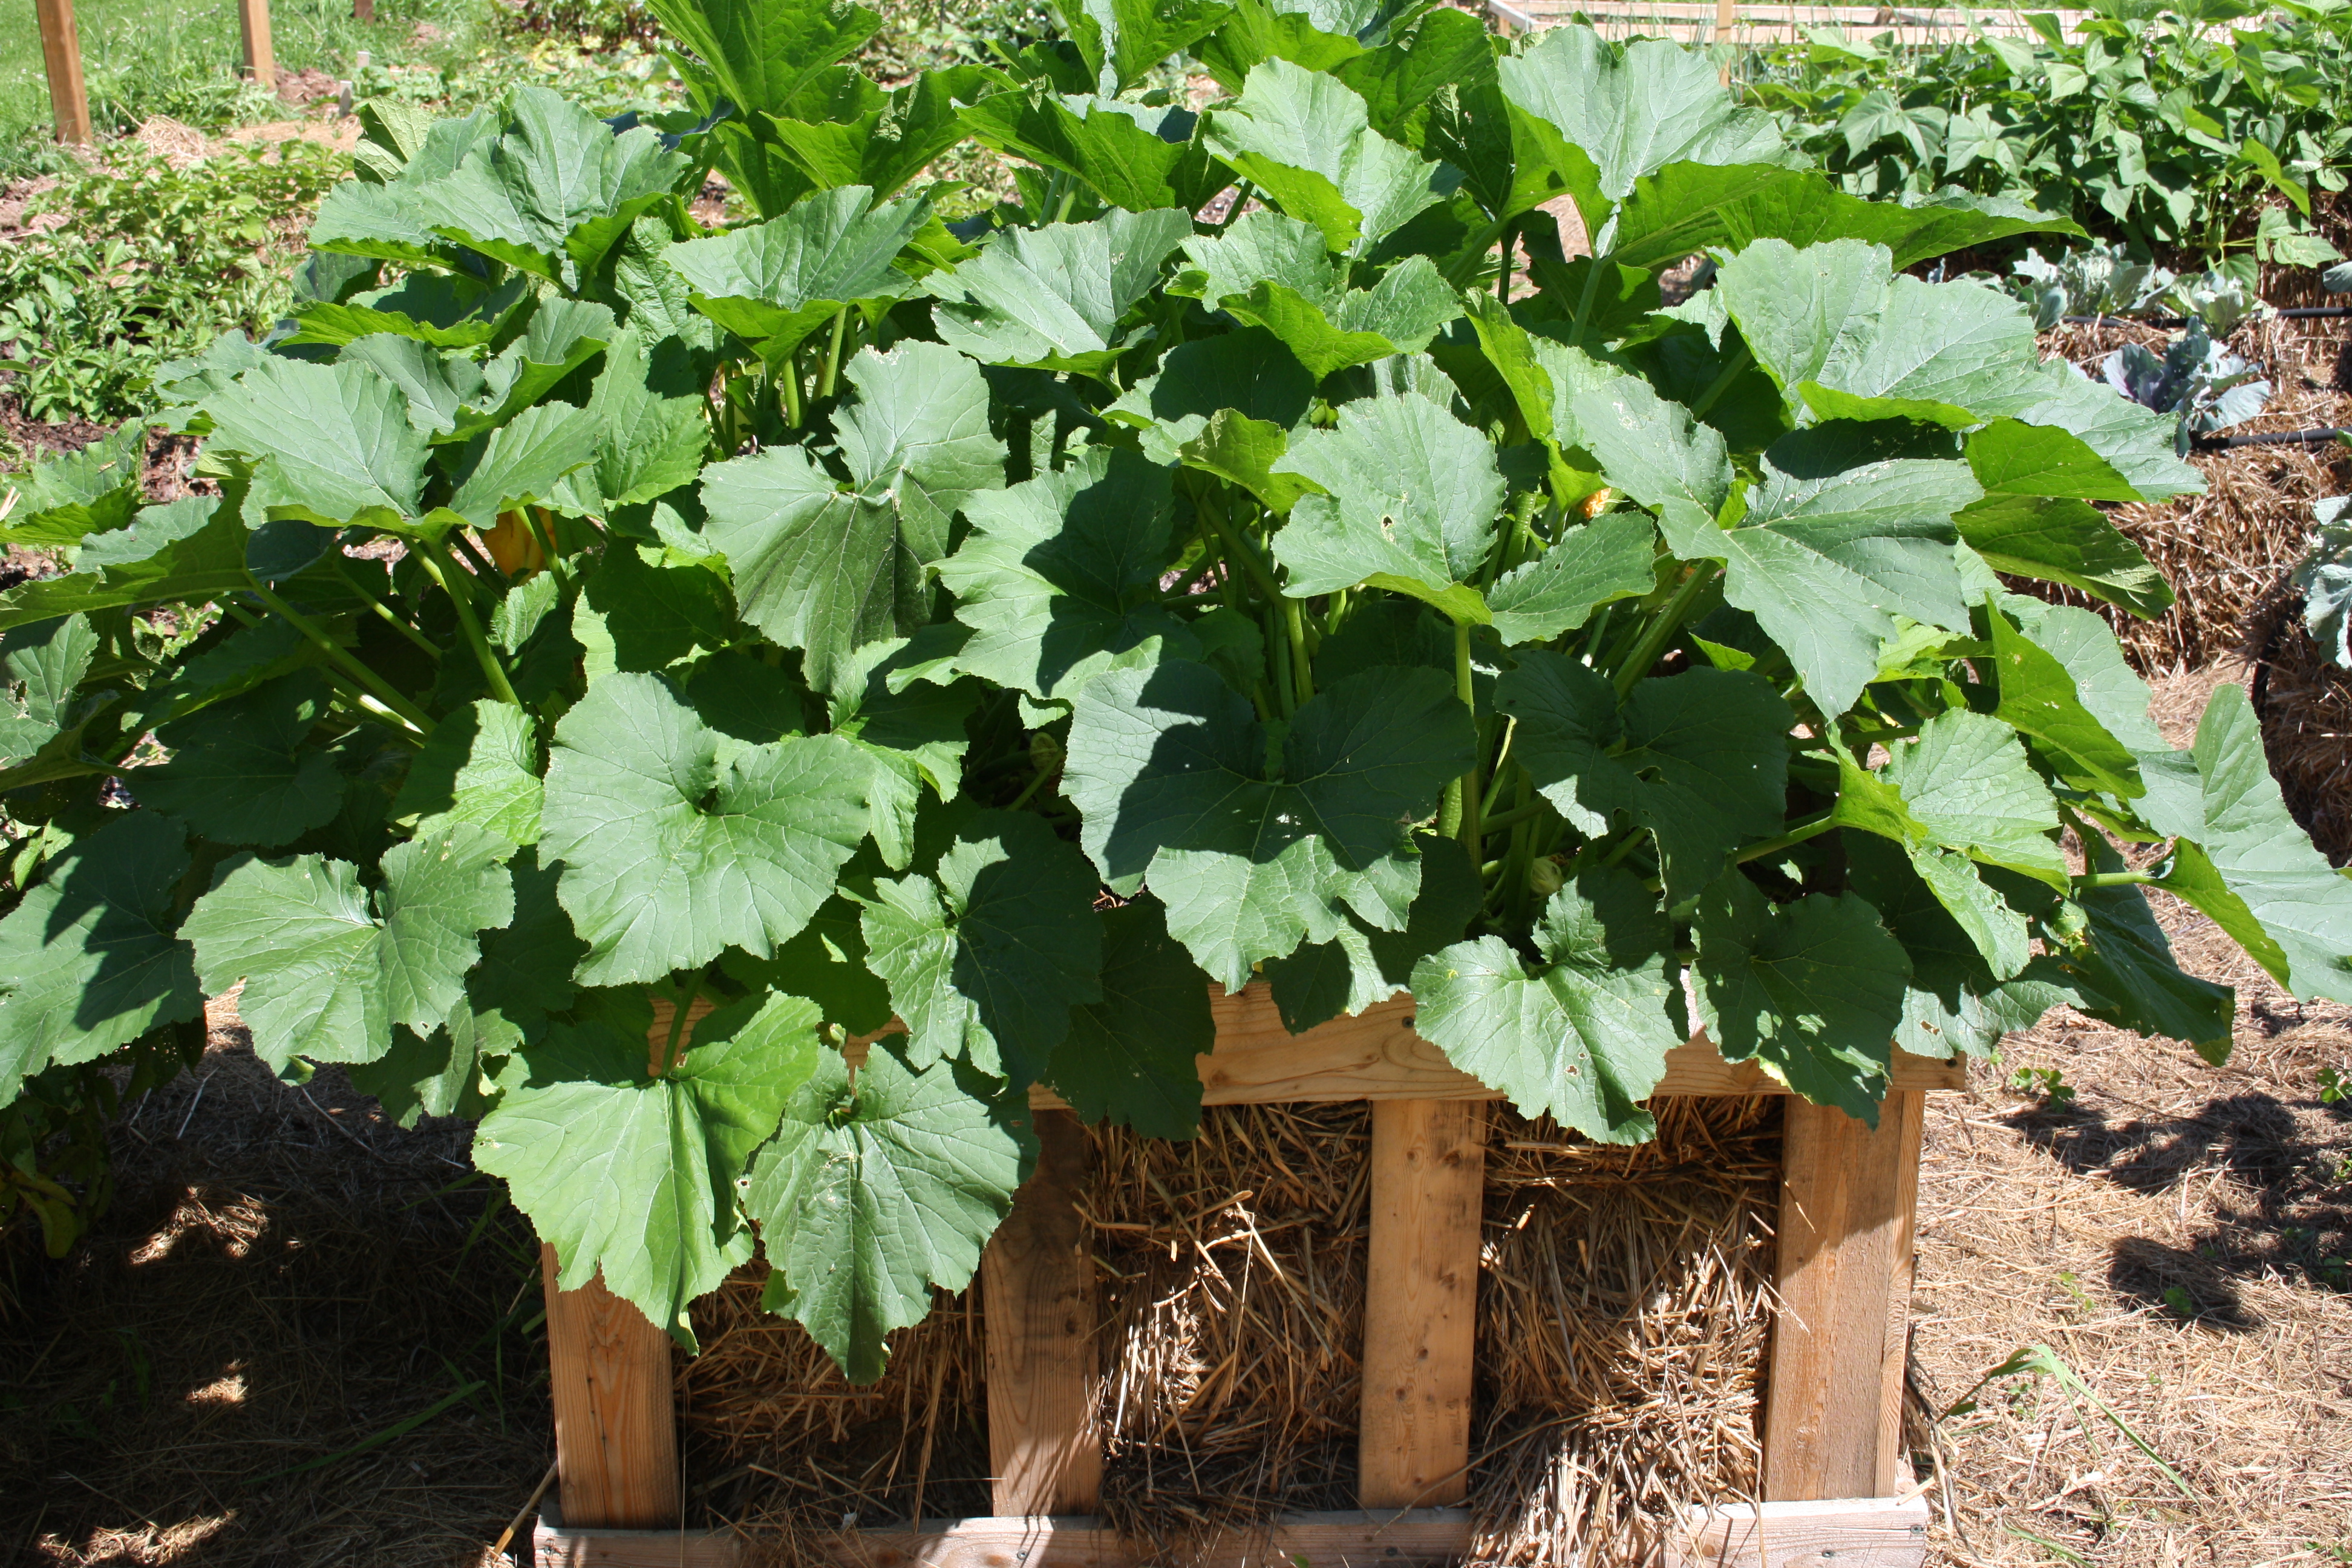
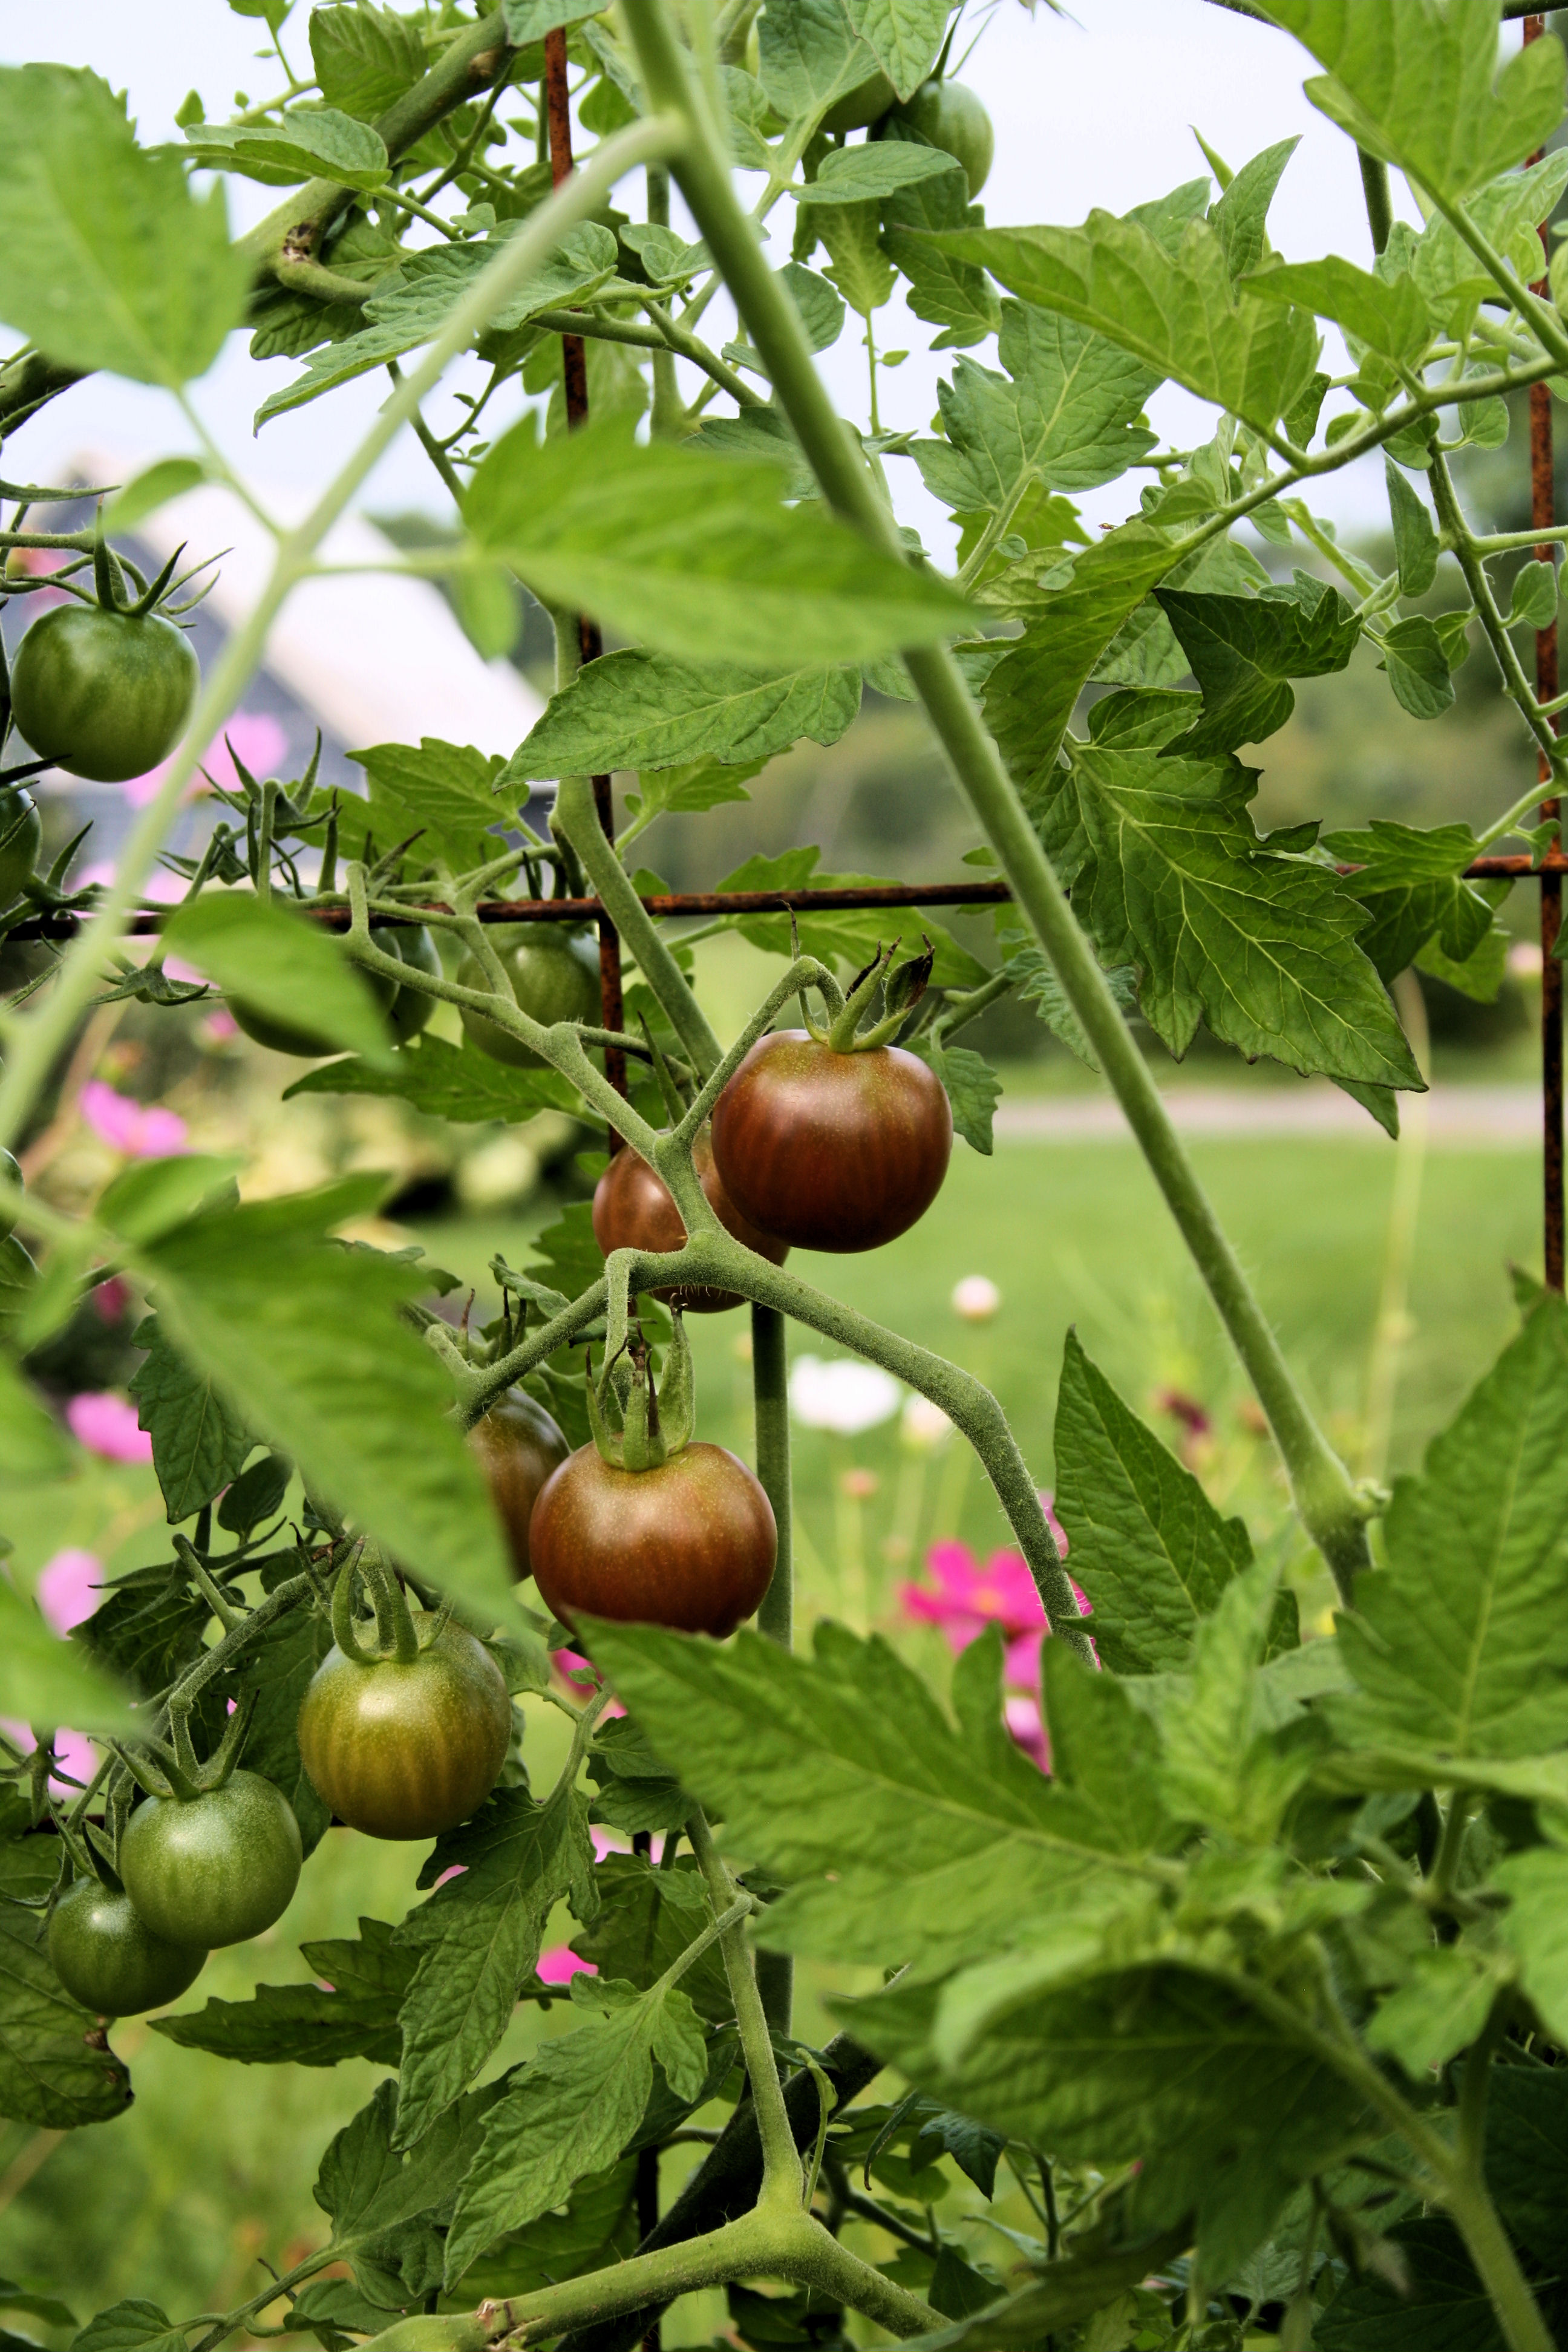
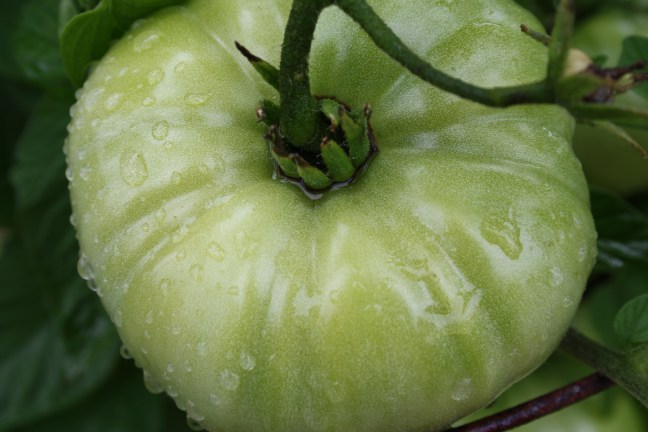
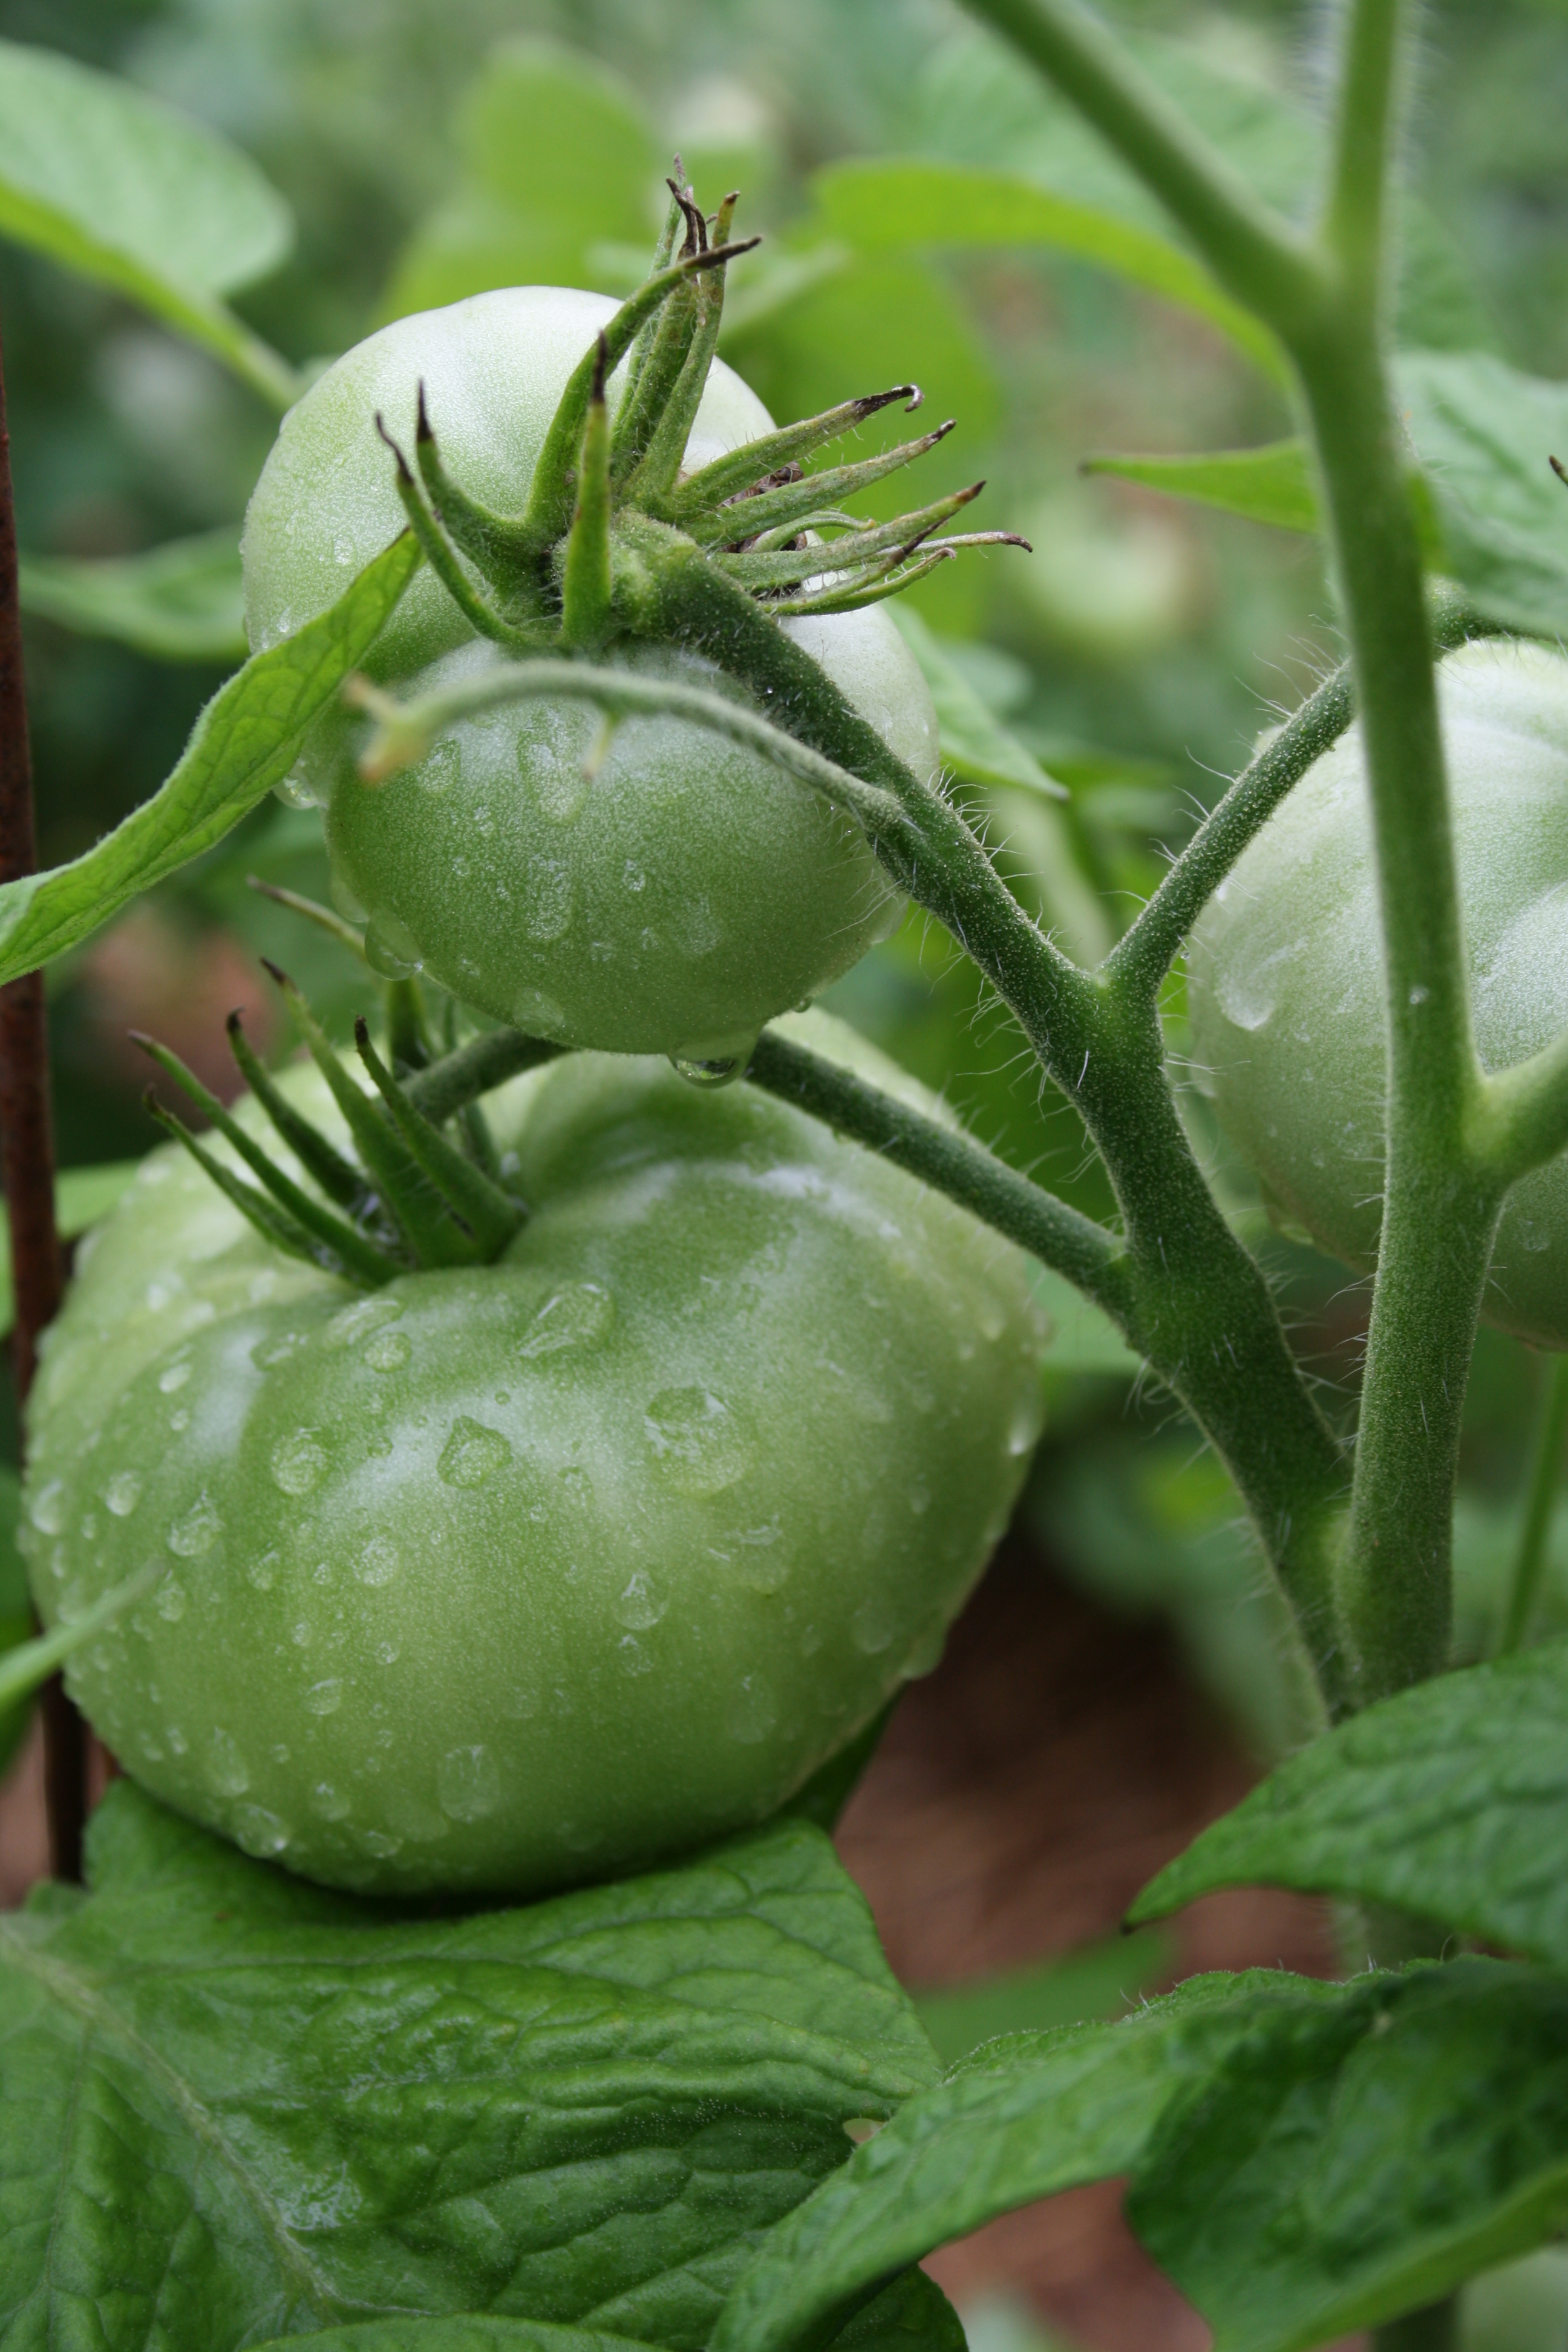
4. Avoid over planting. One tomato plant, depending on the variety, can produce 10 to 15 pounds of tomatoes. Do you really need three six-packs of tomatoes from the nursery? If you want different varieties of tomatoes, consider giving your excess plants away to community gardens or arranged to share with fellow gardening friends.
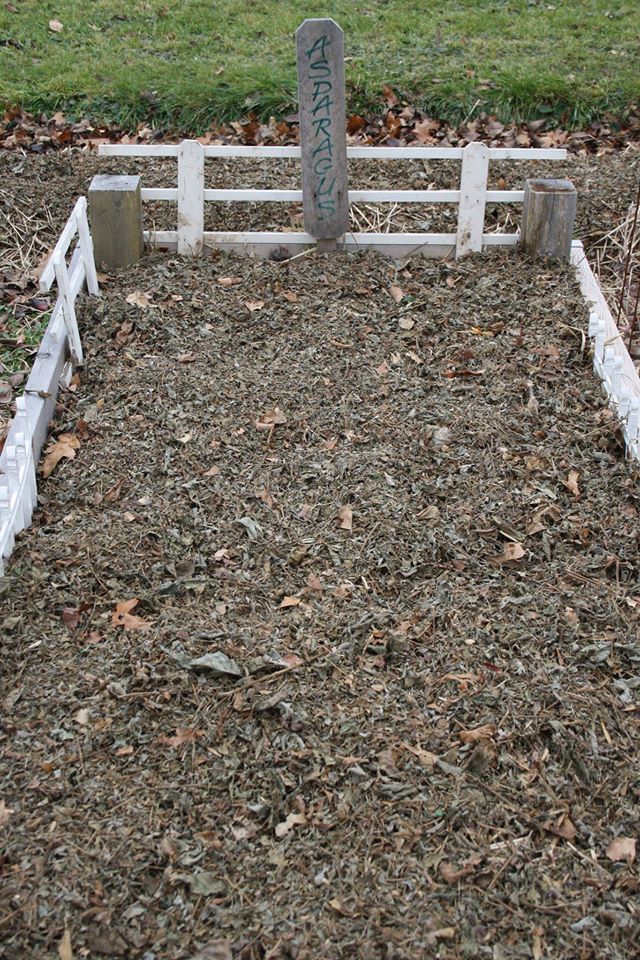
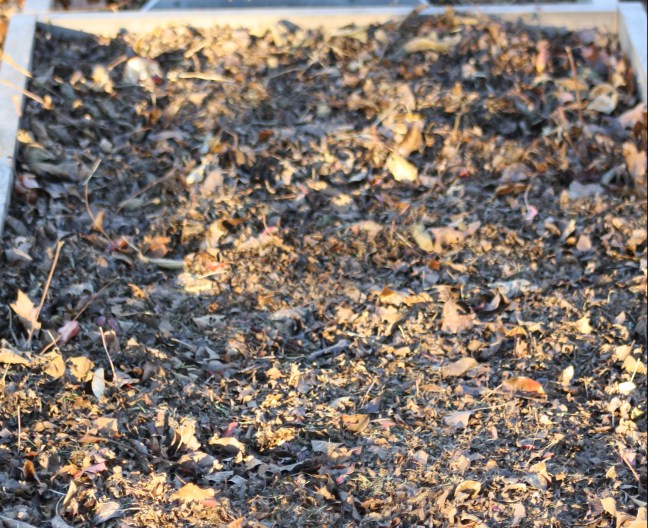
5. Mulch all your bare soil. Use of mulch suppresses weeds and helps retain moisture in the soil. Mulching will also cut down on the labour required. We mulch with year old hay, straw, shredded leaves and plant cover crops like annual rye and buckwheat as we harvest areas of the garden.
6. Seek out advice. Gather information on what grows best in your geographical area and hardiness zone. Find the most experienced gardener in your locale and ask if you can visit. Be prepared to help in the weeding and keep your eyes and ears open and ask questions. Visit local farmers markets and talk to the local organic farmers. Most are happy to share their knowledge and will likely invite you to visit the organic operation. Get to know your nearby nurseries. Many offer seminars on gardening for free or a small fee.
7. Join a gardening group or club. Visit community gardens, search the Internet and Facebook, and inquire at your local nurseries for groups that may be operating in your area. Through these clubs, you will be able to share with the knowledge and experience of other gardeners and participate in seed and plant exchanges.
8. Our final recommendation – do not procrastinate. If you’re thinking about starting your own garden, start planning now. We have been using the Garden Planner from GrowVeg.com for three years and love the ease of use in keeping things organized and scheduled.

Growing your own fresh, nutritious food is easier than many think.
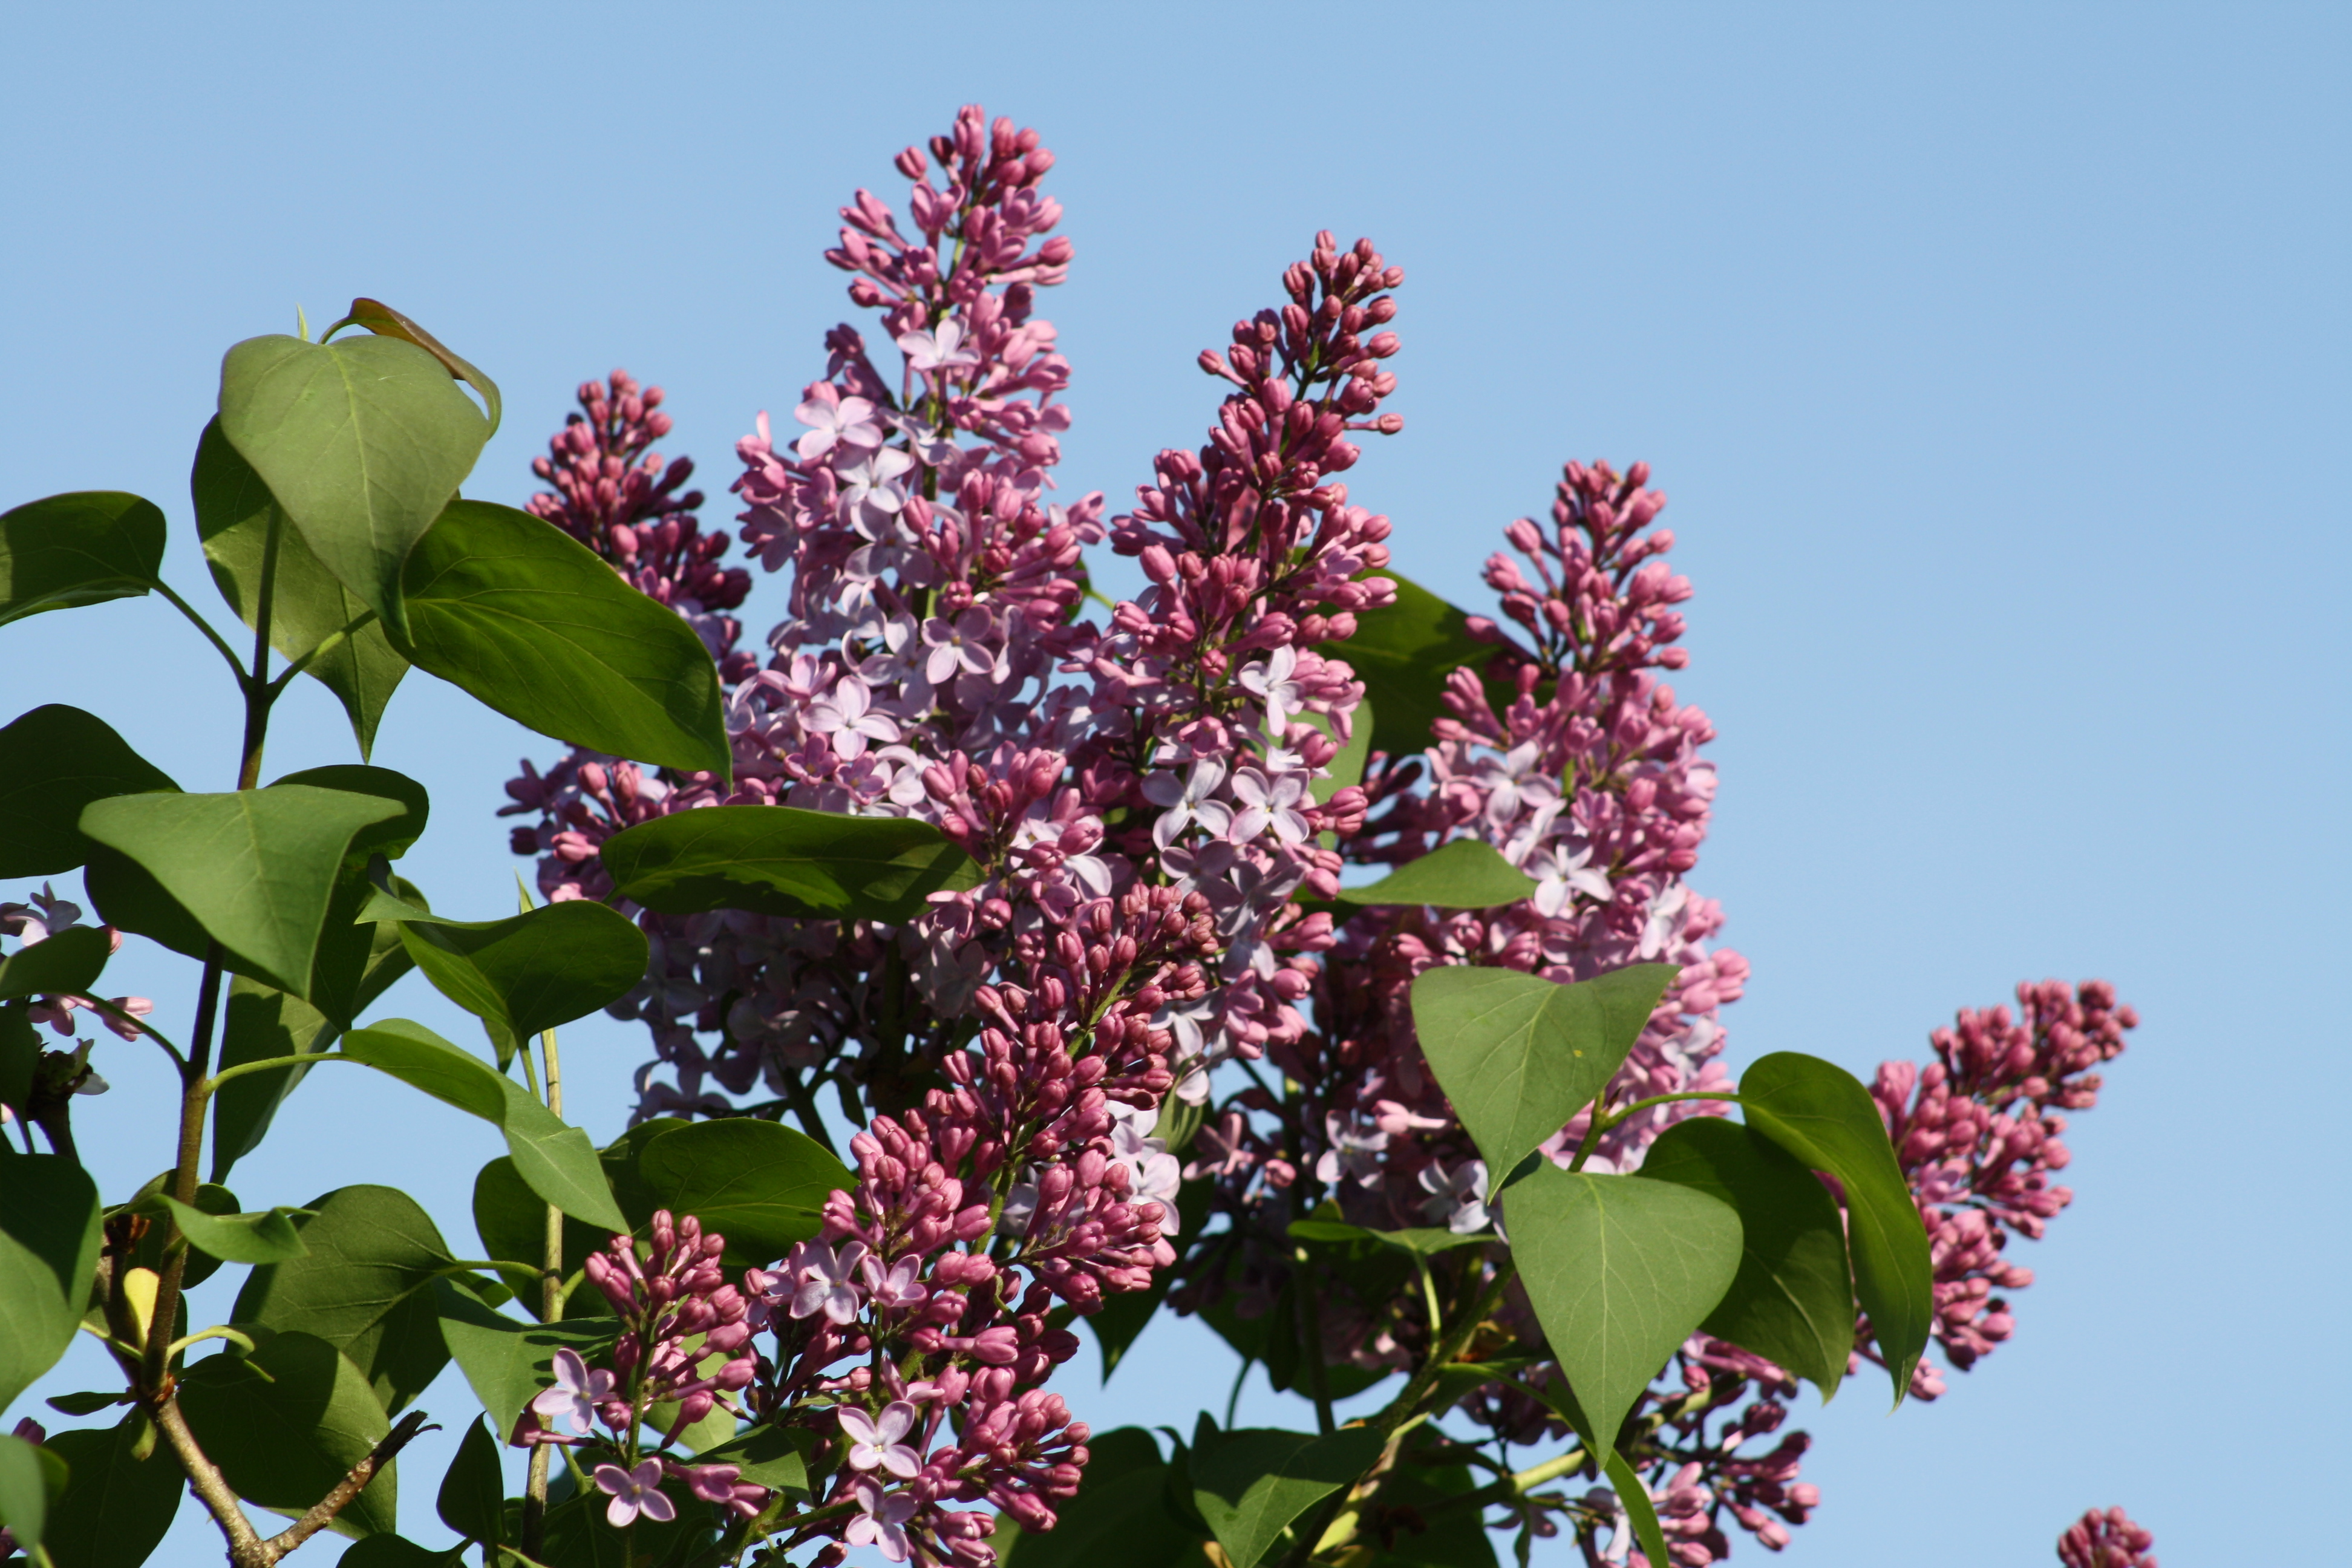
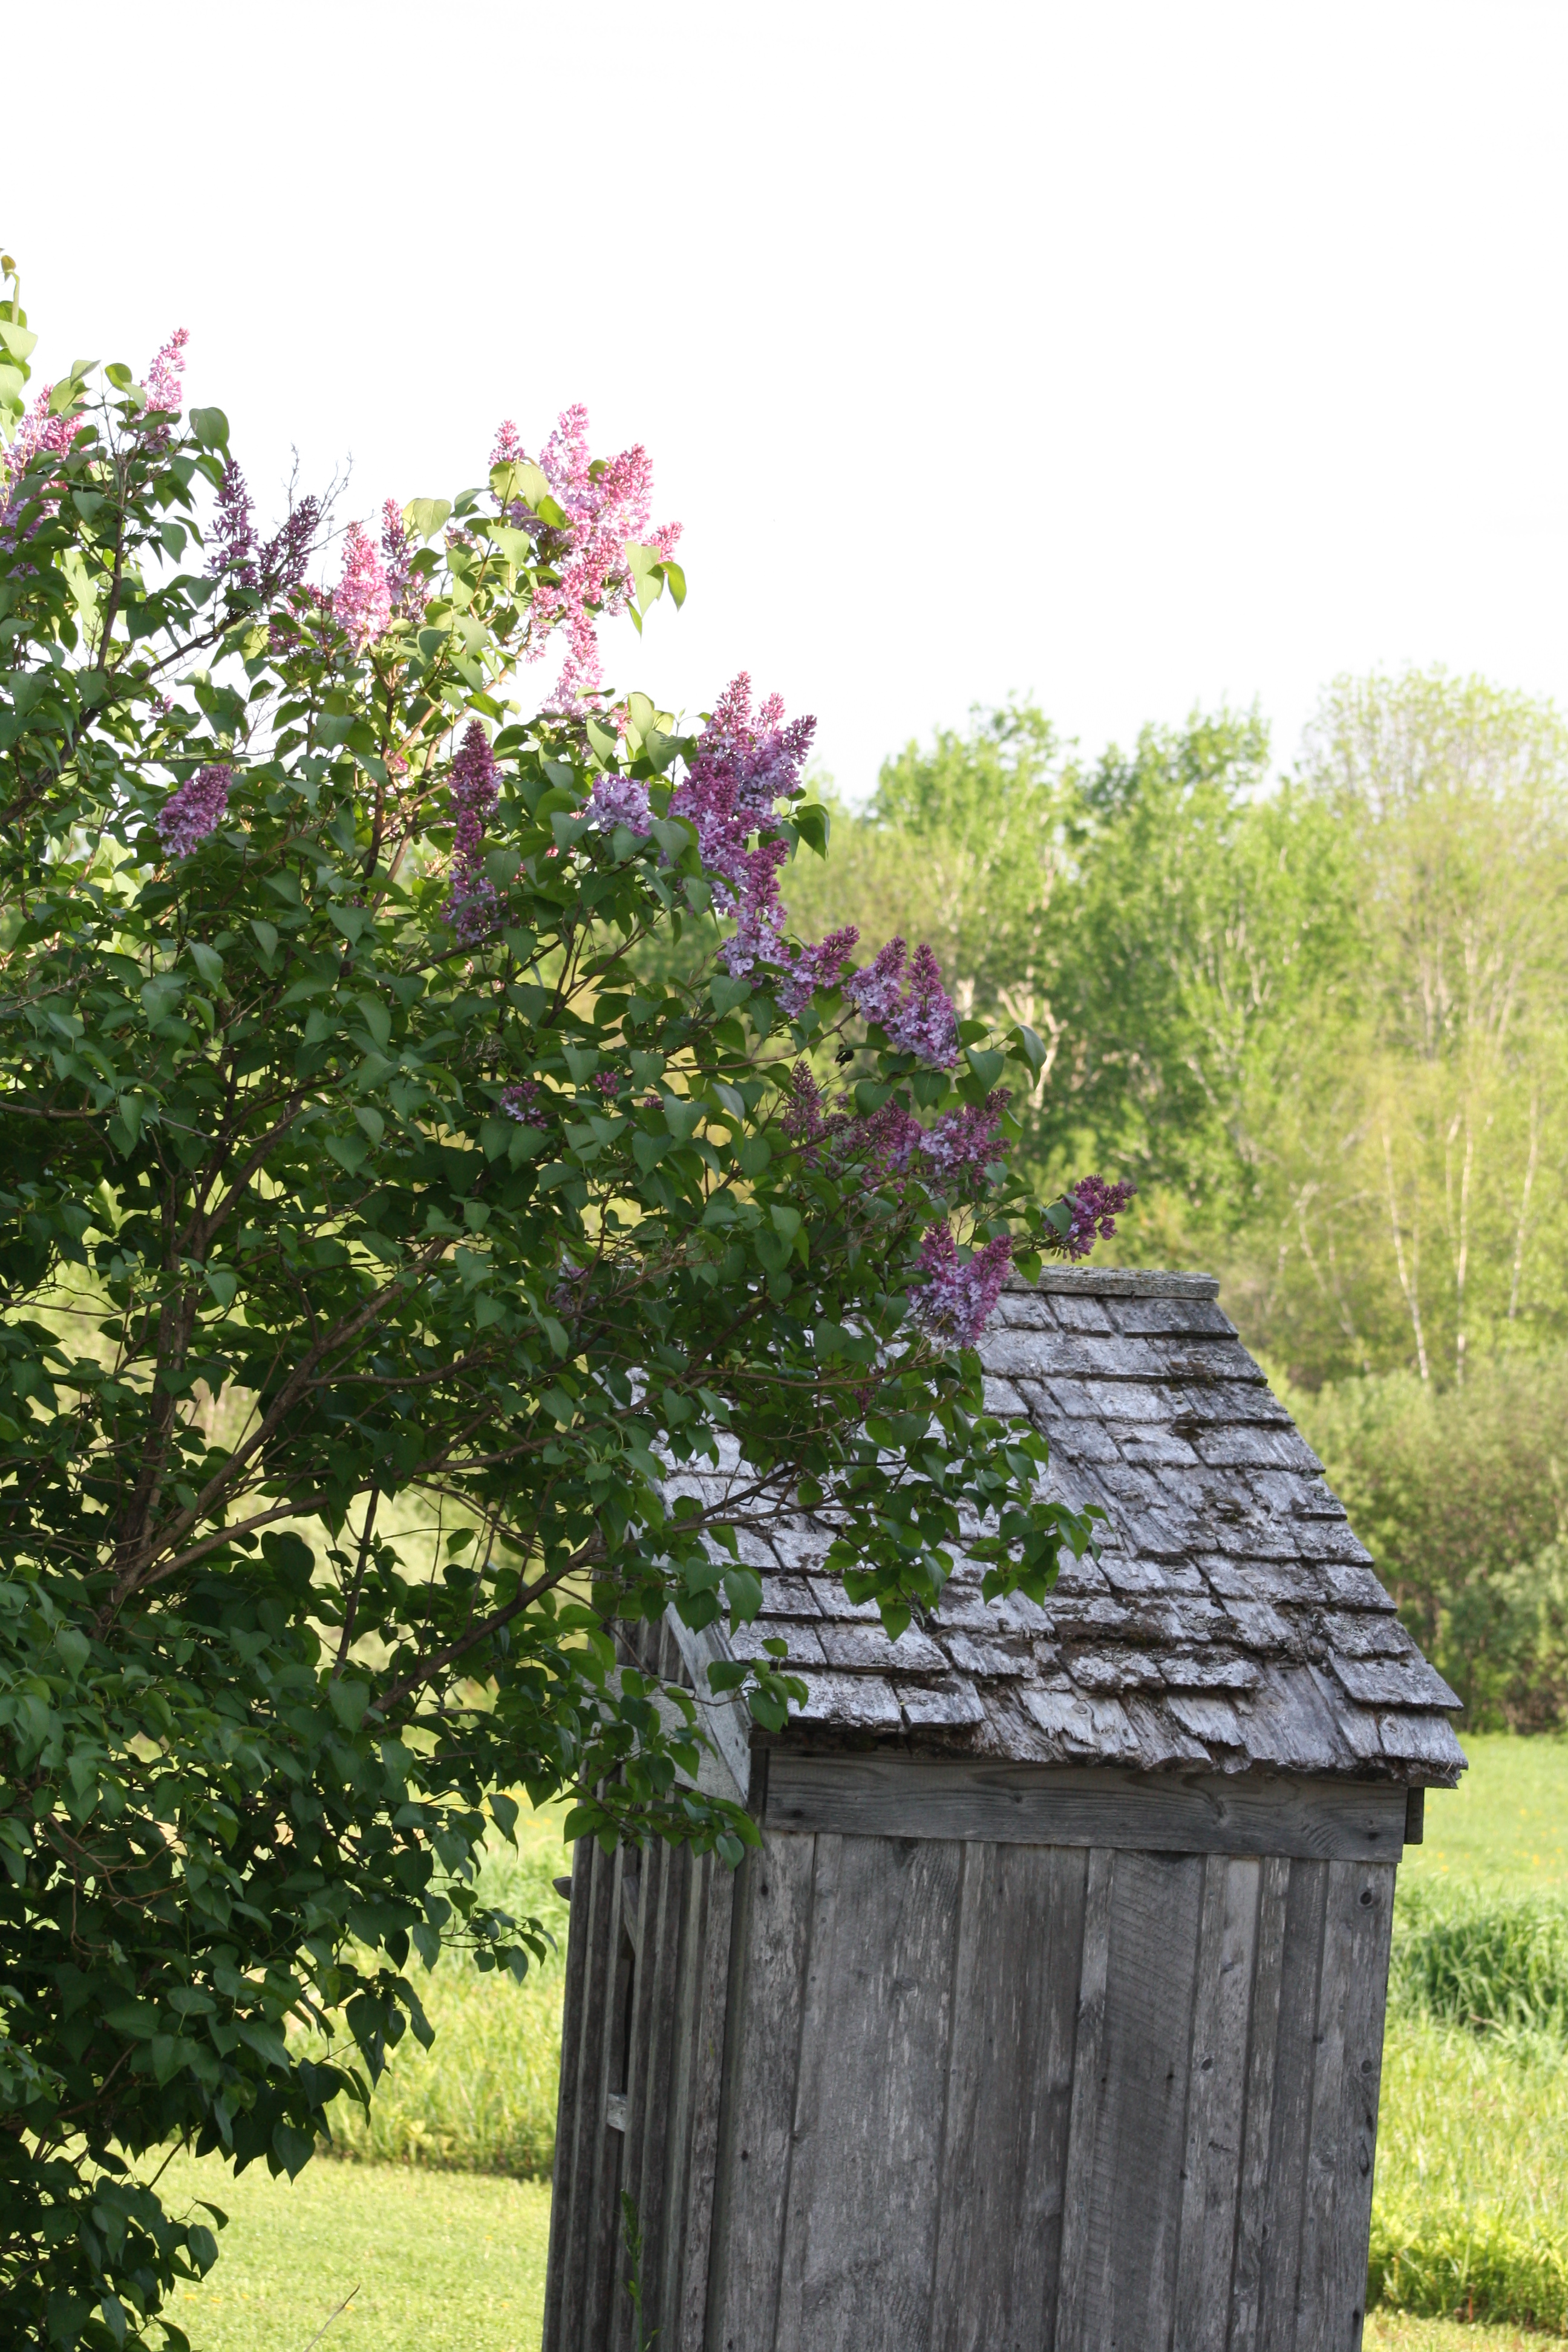
Come on spring

Tom and Di
Related posts:

Using the Garden Planner

Time to Plan the Garden


2015 Garden Report – Part 2

In this posting we would like to share with you our experiences with attaining our 2015 garden goals. Some of the ideas on the internet are intriguing and look like a neat thing to do, but after our experiences this past growing season we will be more questioning of the gimmicks flooding the internet gardening sites and sticking to more conventional, proven methods.  We started 2015 with five goals for our gardens.
1. Start an asparagus bedAsparagus Bed
2. Plant sweet potatoes
3. Begin a straw bale garden
4. Grow vertical potatoes
5. Create a growing bed using sawdust and compost
1. The asparagus bed is done. We had planned to do this for three years and finally did it this past spring. We planted live root stock of Jersey Giant and Purple Passion. The bed is heavily mulched and we await for this springs results. Hopefully we will be able to take a small harvest this year and be patient enough to wait for year three.
2. The sweet potato experiment was short lived. Unrooted vines were planted in our carefully prepared bed. The vines excelled over the next two weeks and then disaster. Our neighbourhood skunk had dug up all the vines and had damaged most beyond rehabilitation. Planted more russet potatoes and moved on.
3. Straw bale garden experiment took on two different approaches. The first was to build a frame from old pallets to contain three bales. Four Zucchini plants were planted into the three bales. Holes were made for each plant and each hole filled with a mixture of our own compost and leaf mold. We had excellent results with an abundance of zucchini. Most is shredded and frozen for zucchini bread and we still had plenty for fresh eating and to give away.
The second SBG experiment was to set up three rows of five bales each and follow the “conditioning” regime. Blood meal was used to condition the bales and the bales were watered every day. It was a long and somewhat expensive process and other than the bush beans, not that productive. The cabbage was a reasonable harvest, broccoli was just “so-so” and cauliflower a disaster.017
Would we do it again? No! We obtained much better results with our “non-conditioned” framed bales with little effort. If we were to try it again, we would use only tight baled straw or frame the bales. Loose bales broke down quickly and plants were pulling out of the bales. We also have developed good soil and have lots of garden space, so really do not need the SBG method. The composted bales are now rearranged into four three foot by twelve foot raised beds.
4. Growing vertical potatoes – A wire cylinder made from concrete construction mesh was filled with a layer of straw, then a layer of compost and leaf mold, then three seed potatoes planted. This was repeated until the four foot potato tower was fully planted. Plant growth was exceptional and plants found their way to the sunshine through the straw to the sides of the tower. The disappointment came with the harvest. Only two to three medium sized potatoes per plant. Production is far superior with the traditional “hilled up” rows. Chalk this one up to a neat idea and totally unnecessary if you have the garden space to grow your potatoes using the “hilled up” row method.
5. The sawdust bed. This idea came from a garden we visited in south-west Nova Scotia. Huge vegetables were growing in sawdust. The key to this is old sawdust. There is an old mill with mounds of sawdust that is over forty years old near our homestead. Unfortunately it was very late in the season before we were able to find ownership in order to seek permission to remove some of the old sawdust. Maybe this coming season we will attempt to get a few loads and try the sawdust bed. If you are thinking about doing this, we recommend a mixture of sawdust and compost for your planting bed.
One more thing. Gardens Jul 2 005We added grids like used in Square Foot Gardening to all of our raised beds in the upper garden. We found them to be very useful for planning and planting. Planning of succession planting and companion planting seemed easier using the organization of the grids.  Using the SFG grids also made proper spacing easier.
If you have had experience with any of the above, please share in the comments. Until next posting, enjoy planning the 2016 garden and Happy New Year!

Tom and Di

2015 Garden Report – Part One

After a slow start the 2015 garden season with a very wet and cold spring, our gardens finally flourished. August provided a lot of warmth that extended into the late fall. Despite the late start, we were privileged with an abundant yield of garden fresh vegetables and fruit as good or better than any other year.

Most of the summer was occupied with building a five foot fence around the lower garden. Next year the garden fence will need a few minor touch-ups before it is finally finished. We also accomplished a few smaller structural projects. More raised beds were added to the upper garden to border already established raised rows. Next year more raised beds are planned, especially for our cabbages and broccoli, making it easier to attach hoops for row covers.

We also experimented with an arched trellis for cucumbers. The trellis was made with using a 4’ x 8’ concreteCuke Trelis mesh attached to the sides of two raised beds and shaped into the arch by gently bending the concrete mesh and holding it in place with cable ties. The trellis was 8 feet long and “Straight 8” cucumbers were planted along each side of the trellis. The trellis produced fantastic yields through the season and provided for lots of pickles, salads and cucumber sandwiches.
We redesigned our pole bean trellis to a ”V” design. This allowed sunshine to penetrate into the middle of the trellis and allowed air to circulate freely inside the trellis reducing moisture and the possibility of mildew. It also became an obvious advantage to harvesting the beans as they hung freely away from the strings. 010Two types of pole beans were planted, Carminat, a 7 to 8 inch long purple pole bean that produces a beautiful lavender blossom and Monte Gusto, a flavourable yellow pole bean that can be harvested the full season. The yield from the trellis provided daily fresh beans, pounds of frozen vacuum packed beans and this year we have experimented with a large brine crock full of beans.

We tried two new things this year and will certainly be doing them next year as well. With our regular greens we also planted mustard greens. They were enjoyed in salads, soups, and stir-fry.  We enjoyed them so much that over 50% of our late fall garden was planted with mustard greens. The greens grew late into the season and a final harvest was taken in early December. The variety favoured was Red Giant.

Chocalate Cherry 002The other star of our 2015 garden was the Chocolate Cherry tomato.  A deep purple almost chocolate colour with a very sweet flavour. They are so good, most were eaten in the garden, but those that made it out were gratefully consumed.

The 2015 Garden Report – Part Two will look at some of our other experiments and the success, failure and why we would or would not do it again.

Until then, Merry Christmas to all from Tom and Di at the Creative Garden Patch.

Preparing for Spring

Spring may seem and feel like it is a long way away, but we start our preparation for the gardens in the late fall.  After the last crop is harvested we immediately start preparing our growing beds and rows for spring planting.  We address two concerns with our preparation,  augmenting the soil and protecting the soil.

We start by removing all plant waste from the beds and rows.  Some gardeners like to leave plant material where it is in the garden over winter and have it rot into the soil.  In our area it tends not to rot completely over the winter and it would be necessary to till the plant remains into the soil or remove it entirely.  We prefer not to till excessively so remove the plant material to composting bins in the fall and clean up the growing areas.  Removed plant material will one day return, but as rich compost.

The soil in New Brunswick tends to be acidic.  Pelitized lime was added to selected areas based on middle and late summer soil analysis and crop observations over the summer.  We use the lime sparingly so the pH can be gradually raised over the next few years.  IMG_9182All other augmentation used our own compost and shredded leaves.  All raised beds and raised rows got  a generous one inch layer of our home-made compost plus a layer or two-year old leaf mold.  Each fall we gather and shred leaves from the property and add around forty to fifty bags of leaves collected from nearby towns.  A ride-on mower is used to clean up and shred the leaves on the property and a 5 HP shredder tackles the bags providing enough leaves to replenish the leaf mold bins and provide protective mulch for the soil.

All growing beds and rows are either planted with annual rye and or covered with a six-inch layer of shredded leaves to protect against winter erosion.  The IMG_9181annual rye is cut and incorporated into the top layer of the soil in the spring.  By planting time next spring, the leaves will have started to decompose and all we do is pull them back “scratch till” and plant.  Wait for seedlings to develop or set out your hardened off plants then push the shredded leaves back as mulch for the start of the growing season.  All non growing areas of the garden are protected with a generous layer of old hay or straw, whatever is available.  By using old hay we have avoided problems with weed seed germination.  This layer protects against erosion and builds a mulch layer to stifle early weed growth.

Our fall preparation for spring is done and the gardens put to bed awaiting the first blanket of snow.  Seed catalogs are arriving and the gardening planning for next year begins.

Panzanella Caprese Salad

The last post was about the “Green Tomato Blues”, whining about the green Brandywines and ranting over the green Romas.  This week, Mother Nature has done some magic and the tomatoes are ripening and with Her continued support, there will be a good harvest.  There has been an abundance of Tiny Tim and Chocolate Cherry tomatoes.  Many are consumed right in the garden, but some make it to the kitchen.  Last night’s cottage supper included a Panzanella Caprese Salad.  Some Lemon Boy wedges were added to our salad.  By the way, if you have not tasted Chocolate Cherry tomatoes, they are delicious!

Chocolate Cherry
Chocolate Cherry

Panzanella Caprese  (Styleathome.com, August 2015)
Ingredients:
½ quality baguette
¼ cup EVO
1-2 cloves garlic peeled and crushed
¼ cup balsamic vinegar
2 cups cherry or grape tomatoes, sliced in half
1 cup small bocconcini torn in pieces
½ cup fresh basil leaves
Fresh ground pepper
Procedure:
Preheat oven to 425°C, cut baguette into crouton cubes and place in a bowl.
Place oil and garlic in a small dish, let stand for 1-2 minutes then drizzle on bread, toss to coat.
Bake bread on cookie sheet until golden brown. Meanwhile, reduce balsamic to half over medium heat. Set aside to cool.
Arrange toasted croutons, tomatoes and bocconcici on a platter. Top with fresh basil leaves, drizzle with EVO and balsamic reduction. Grind pepper over salad to preferred taste. Serve.

Bon appitite!


Green Tomato Blues

Walked through the garden after the rain today mainly to check on the tomatoes and hope to see009 some signs of ripening. Have had a few Tiny Tim, Chocolate Cherry, and a few Brandy-wine, however the Lemon Boy, Roma, and Beefsteak, (sigh) are very green.

This time last year the tomato sauce, stewed tomatoes and salsa was in the pantry. The tomatoes are about two weeks behind due to the slow cold start this year. Hopefully they will ripen before too long.

It is late August and should the tomatoes fail to ripen in the sunshine they will have to do their best indoors with a bit of help.

We have used three methods to ripen tomatoes indoors and have had success either way.  It is important to avoid diseased, bruise or damaged tomatoes for ripening indoors.

  1. Place 3 to 5 tomatoes in a paper bag and set in a warm place.  My mother used to use this method and add a ripened banana to the bag to “speed up the ripening”.  Never observed much of a difference, other than fruit flies would magically appear with the banana method.
  2. With a large amount of unripened tomatoes, place a layer of newspaper in a cardboard box and set a layer of tomatoes on top of the newspaper.  Be sure to leave space between the tomatoes.  Place another layer of newspaper on top of the tomatoes and put in a warm place.  We have had success with placing a second layer of tomatoes in the box.  Place crumpled newspaper on the last newspaper layer to “cushion” the tomatoes.  Place a layer of newspaper on top of the “cushion” layer, add tomatoes and cover with more newspaper.  It takes up less space put will take more time to check the ripening progress.  If space allows, do only a single layer.
  3. Place tomatoes that show a little sign of starting to ripen on a window sill, on a counter top or a shelf near a window.  This method would supply tomatoes for lunch, dinner and snacks.

Always check the tomatoes for ripening.  Remove any tomatoes showing mildew or rot to prevent other tomatoes from rotting.

This may be the year for green tomato chow, green tomato salsa and fried green tomatoes!

For some more information on ripening tomatoes indoors check out Ripening Green Tomatoes at GrowVeg.com.

Sun is out!  Back to the garden!


A Morning Walkabout

A beautiful May 30th morning here in the Creative Garden Patch.  It really is starting to feel like summer is close and the piles of snow are long behind us.

The pictures of the morning walkabout shall speak a thousand words!

Garden Walkabout 043

Garden Walkabout 008

Garden Walkabout 009

Garden Walkabout 027

Garden Walkabout 057

Garden Walkabout 065

Garden Walkabout 053

Have a wonderful day in the garden.

Tom and Di

Raised Rows, Straw Bales, and Plum Blossoms

Well it has been a cold, wet spring here in New Brunswick.  Yesterday was very cold with wet 031snow in the afternoon!  Despite all the bad weather, the orchard is sweet with the aroma of plum blossoms.

Today hit 24C and at last the lower garden (old section) is dry enough to start some planting.  Later than previous years, but beets, carrots, turnip and onions are all in the ground.  We also added twelve new strawberry plants to the strawberry patch.

The new section of the lower garden now has new raised rows, two planting mounds for our squash, pumpkin, and zucchini.   The straw bale experiment is well under way and ready for planting this week if the weather forecast holds.

Blog Garden 022The planting mounds are constructed as “compost heaps” right in the garden.  Brown material, (leaves, dry grass clippings, old straw) plus finished compost were piled up and will be covered with straw mulch before transplanting the winter squash, pumpkin, and zucchini.

The “new section” of the lower garden is wet ground.  Last year the area was completely covered with straw and black plastic.  This spring the black plastic was removed and the raised rows were constructed with alternating layers of straw, compost, shredded leaves, garden soil and top dressed with more compost.  After planting the rows will be mulched with straw.    The method was successful last year despite the wetter soil under the raised rows.  The straw and leaves may have acted as a “wick” to draw the moisture as well as the plant roots seeking the moisture.  Either way it was not necessary to water any of the rows last year.  A major plus to a low maintenance garden!005c

The straw bale experiment is set up in the new section as seen in the picture.  The ten-day “conditioning” routine was completed using blood meal as the nitrogen source.  The use of a weeping hose made the process less painful.  In the future, we think we would prepare the bales in the fall for use the following spring.  We will keep you updated through the summer on our SBG experiment.

In the upper garden, a new asparagus bed, new cucumber trellis, and finally grids for Square Foot Gardening.Blog Garden 002

We have been posting relevant gardening information on the Creative Garden Facebook Page.  Mainly the re-posts are articles that we have found useful or interesting and want to share with you.  If you are not following on Facebook, please check the page out and follow for more gardening information.

Looking forward to planting this week. Time to get your hands dirty everyone.

Tom and Di

Great Tomato Tips and Tomato Hygiene

grow healthy tomatoes: staking and pruning

Margaret Roach – A Way to Garden  (you can follow Margaret for more wonderful garden information)


Tomato trial fields at High Mowing Organic Seeds, with staked and pruned plantsI HAVE ALWAYS CAGED my tomatoes, but many experts agree that staking–and regularly pruning and tying the staked plants as they grow–is the most space-efficient and also most hygienic tactic of all, helping manage the potential for disease while yielding plenty of fruit. With tomato-transplant time just ahead here, I’ve been studying up with experts like Tom Stearns (that’s his High Mowing Organic Seeds tomato trial field, above) on how to stake and prune tomatoes, and other tips for producing a healthy, bountiful crop. 

Staked plants will ripen faster crops of generally larger fruit. Stakes must be at least 1 inch thick and 6 feet high, inserted a foot into the ground.  Adding supporting twine between stakes (as in the photo above) helps add stability; some gardeners lash horizontal cross-pieces of bamboo between stakes instead. Either way, as the plant grows you continue to tie it to the support with twine or twist-ties. Remember: Staked plants require a commitment to ongoing pruning, keeping the plant to one or two main stems of vine-like, not bush, habit. All small suckers that develop in the crotches between the leaves and the main stem must be removed.

good ‘tomato hygiene’

WHAT’S MOST APPEALING to me is that staking can help with disease prevention. (Read More at A Way to Garden.com)


What is the Best Way to Grow Your Potatoes?

A Simple Way to Get High Yields of Potatoes

Thursday, May 07, 2015 by Barbara Pleasant 
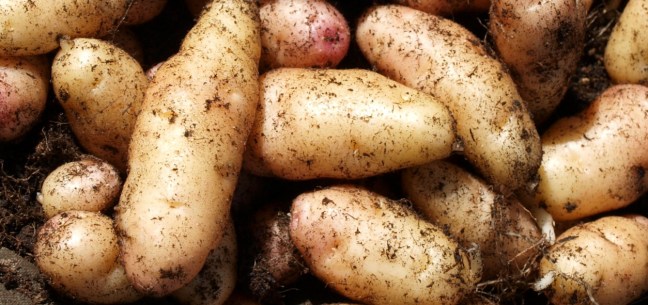
– Categories: mulch, potatoes, containers
Potatoes in straw mulch

It’s no secret that I love growing veggies – potatoes in particular – so it upsets me that so many people are getting sad results when they try growing potatoes in novel ways. I just spent an evening watching videos of people who planted potatoes in various enclosures, grew beautiful plants, and then harvested two handfuls of small, knobby potatoes.

It was not their fault, because this is what usually happens when potatoes are given growing conditions that are much warmer and drier than would occur under normal circumstances, normal being the consistent cool, moist conditions six inches (15cm) underground. I learned this twenty years ago, when growing potatoes in towers made from old tires became a passing fad. The soil-filled black tires heated up so much that the plants lost interest in making potatoes (I harvested five), which never happens in my garden.

The Problem With Growing Potatoes in Containers

Indeed, researchers in tropical climates have found that when soil temperatures rise above 75°F (25°C), potato plants signal their

Potatoes in bags

roots to stop making tubers. Instead, the plants may rev up other reproductive strategies, like developing more fertile flowers, or popping out little green potato-like organs on the main stem. Daytime heating of roots is one reason why potatoes grown in above-ground containers may fail in warm summer climates. Potatoes can take warm air temperatures, but when the roots warm up too, productivity plummets.

A second problem with growing potatoes in towers, pots or bags is the dwarfing effect caused by the containers. The plants sense that they are growing close together, which makes them produce numerous small tubers rather than a few large ones. Large containers or broad bins relieve this crowding a little, but consider: When the Master Gardeners of San Francisco, CA (a potato-friendly climate) compared the productivity of ‘Carola’ potatoes grown in beds, bins, bags and pots, these are the numbers from the final weigh-in:

Growing Method Average Yield Per Plant
Mulched raised bed 2.38 lb (about 1 kg)
Wire bin 0.70 lb (0.32 kg)
Plastic pot 0.62 lb (0.28 kg)
Potato bag 0.58 lb (0.26 kg)
Burlap bag 0.25 lb (0.11 kg)

You can follow this link to see the thoughtful work done by Canadian garden blogger Isis Loran, but spoiler alert she has not found a potato growing method to rival the hill-and-mulch method, which involves simply growing potatoes in the ground, and mounding loose soil and mulch around them each time you weed. “I loved that I could just rake up or hill up more soil & straw as the plants got bigger. It was much easier in my opinion than trying to add soil to the pallet container or rolling up the burlap bags,” Loran writes.

“Potatoes

Loran gardens in a cool maritime climate like that of the British Isles, where potatoes tend to prosper no matter how they are grown. Research by the Royal Horticultural Society has found that variety does make a difference when growing potatoes in containers. When 21 different varieties were grown in 40-litre (16-inch diameter) green plastic potato bags, these varieties were the strongest producers: ‘Casablanca’, ‘Golden Nugget’, ‘Sharpe’s Express’, ‘Maris Bard’ and ‘Lady Christi’.

The story is the same in the US. In Wisconsin, potato lovers involved in the Kenosha Potato Project have found that ‘Calrose’ and ‘Charlotte’ tend to produce larger potatoes than other varieties when growth in soft-sided pots or bags.

How to Mulch Potatoes

Any biodegradable mulch is a good mulch for potatoes, though once-popular straw can be a problem because of price and pesticide contamination. I use both grass clippings and weathered leaves since that is what I have, and I especially like the way leaf mulch keeps the potatoes’ root zones cool, moist and free of weeds. A recent research project from Rutgers University showed that plants produced prettier, more uniform tubers with leaf mulch, and it’s fine to combine materials when mulching potatoes, for example by layering leaves with grass clippings. The important thing is to keep a light-blocking blanket of organic material between the shallowest tubers and the sun.

“Potatoes

The best time to start mulching potatoes is when the plants are ankle high and in need of their second weeding. Use a sharp hoe to nip out weeds, and then mound loose soil around the plants so the crown of the plant becomes snugged in with an additional two inches of soil. Then start layering on the mulch, and keep adding more until the plants begin to fail.

At this point you can feel around beneath the mulch for some tender new potatoes, and start harvesting all of the potatoes from your most advanced plants. As I pull individual plants, I often move the mulch to the centers of neighboring plants that are still growing and in need of as much mulch as I can muster.

When it comes to growing potatoes, the simplest method is the best.

Barbara Pleasant